Welcome to my blog!

I hope you will look around and leave comments if you would like.

Saturday, January 14, 2012

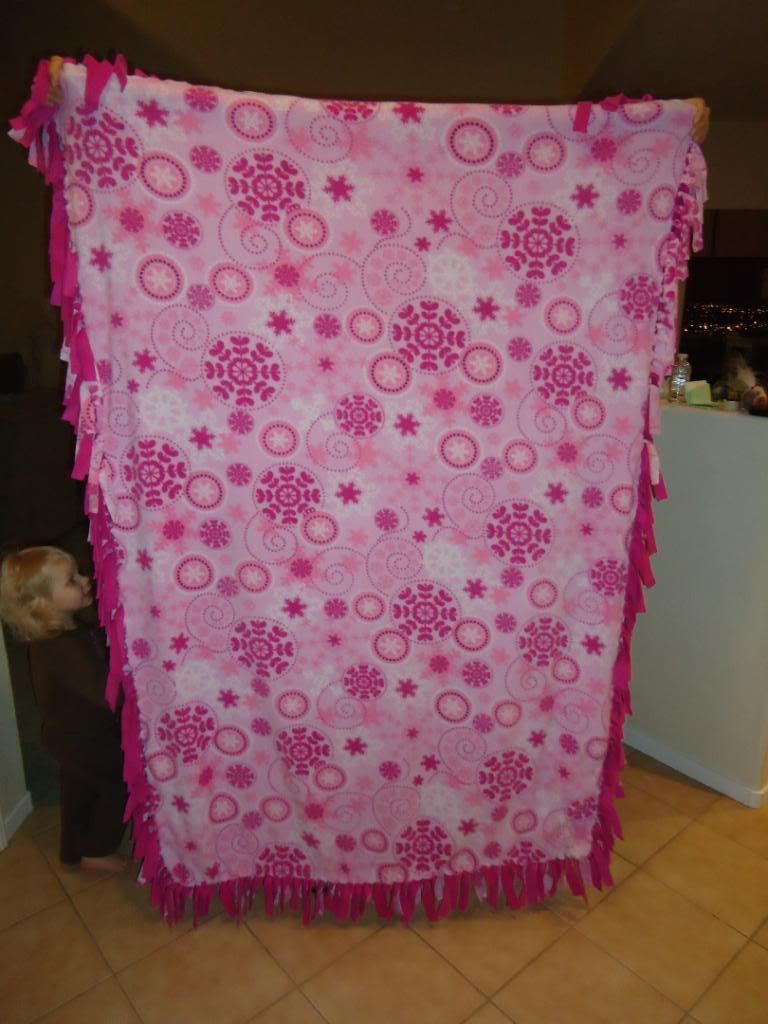
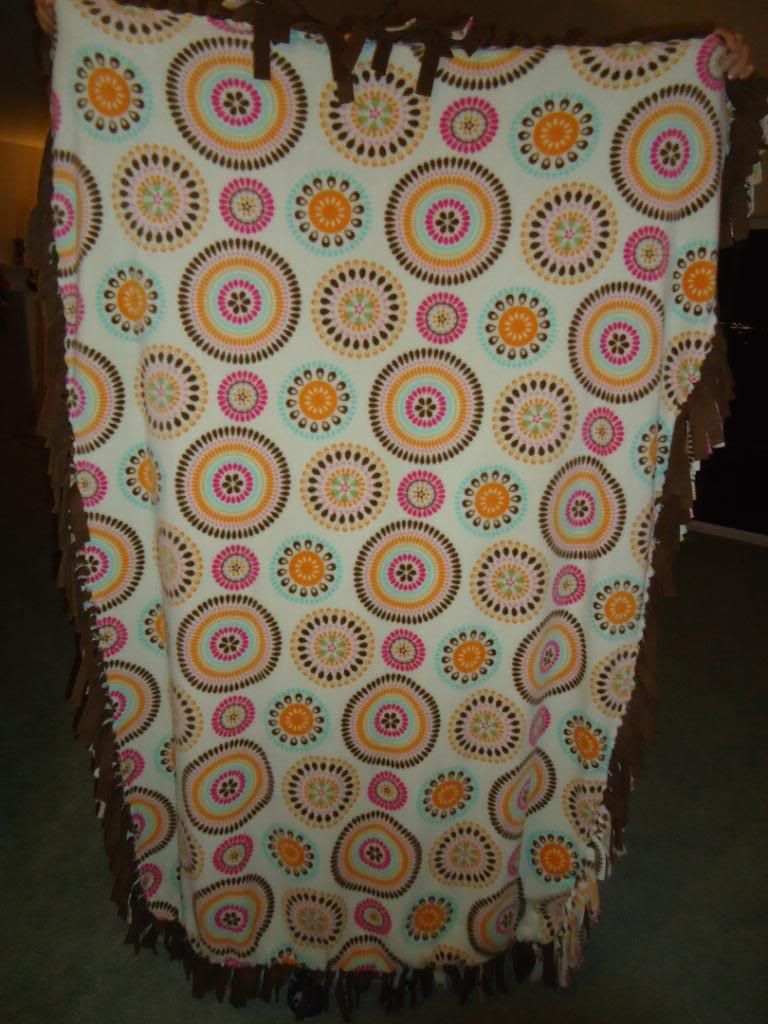
Cuttlie Fleece Blankets

Hi Everyone

Today is CRAZY here at my house. My husband is a HUGE 49er's fan and he is going crazy with the game today. Tomorrow is Kayla's 3rd birthday party and I am trying to finish up some last minute preparations.

I wanted to show you today some of the blankets I made for Christmas presents this year, I guess last year now. LOL!
My mom made some of these for us last year, and every night we snuggle up on the couch with them and they are so soft and warm. So I thought I would make some for my husbands family for Christmas. They are super easy to make and can be pretty inexpensive if you catch a sale at Jo-anns. Hope everyone has a great weekend!

Monday, January 9, 2012

Princess Party Gifts

Happy Monday!
So I have been working on my daugther's Pricess party all weekend and I am so excited to share with you today what I came up with.  Have any of you tried Cricut Craft Room yet? It is a free design software that Cricut came out with that can be used with all of your Cricut Machines. Well I was one of the Beta testers on the software and at first it had so many issues that I hated the program. I just couldn't figure it out and I have a gypsy so I thought no way am I ever going to like this CCR.... Well, I watched some videos on how to use it and then tested it out this weekend. Happy to say the bugs and the problems I was having with it before seem to be worked out. And if you have an Imagine CCR is perfect for you. You can place the images anywhere on the mat and it is so much easier to use then the Imagine screen. I still love my Gypsy for all of my Expression work, but I think CCR is so easy to use with the Imagine and I am so excited I have finally figured out how to use it.
So this months Cricut Circle Magazine challenge is to create something in the CCR.
I am telling you this because this weekend I designed my own Princess paper with CCR and the Imagine and I just love the way it turned out.
I just love the way it turned out. I didn't have any kind of Princess paper on hand and I am trying not to buy more supplies and use what I have, so I thought this is the perfect solution.

Here are the gift boxes I made with this paper.
I used the Sweet Tooth Boxes cartridge and cut at 11.5". These are meant for cupcakes but I am going to put the party gifts in them.
Thank you for visiting me today.

Friday, January 6, 2012

Disney Princess Party Invitations

Happy Friday fellow crafters

Boy am I glad this week is OVER! I had some days off from work and when I got back on Tuesday it was crazy! So much work piled up... But YAY! it is Friday and the weekend is almost here. I wanted to share with all of you today some invitations I made for my daughter's third birthday party coming up in a couple of weeks. Right now she is totally into dolls and princesses. I think this is so funny because I call here "Princess" all the time and now I really do think she thinks she really is a PRINCESS! And she acts like it too! LOL!

So she has decided that she wants a Princess Party with a castle cake. Thank goodness my friend is making the cake because I don't bake and have no idea where to even start! LOL!

So my daughter Kayla has make it very clear what she wants her party to be like:
1. Princesses must have them everywhere
2. Everyone has to dress up like a Princess- this is going to be great because all of her cousins are boys- not sure how we will pull this one off yet.
3. She wants a Castle cake with Princesses dancing around the outside of it.
4. Everything must be purple and pink
5. There needs to be candy at her party- thought this one was cute!
6. And her brother Cooper- has to be there (which of course that is a given, but she made sure to point it out LOL)
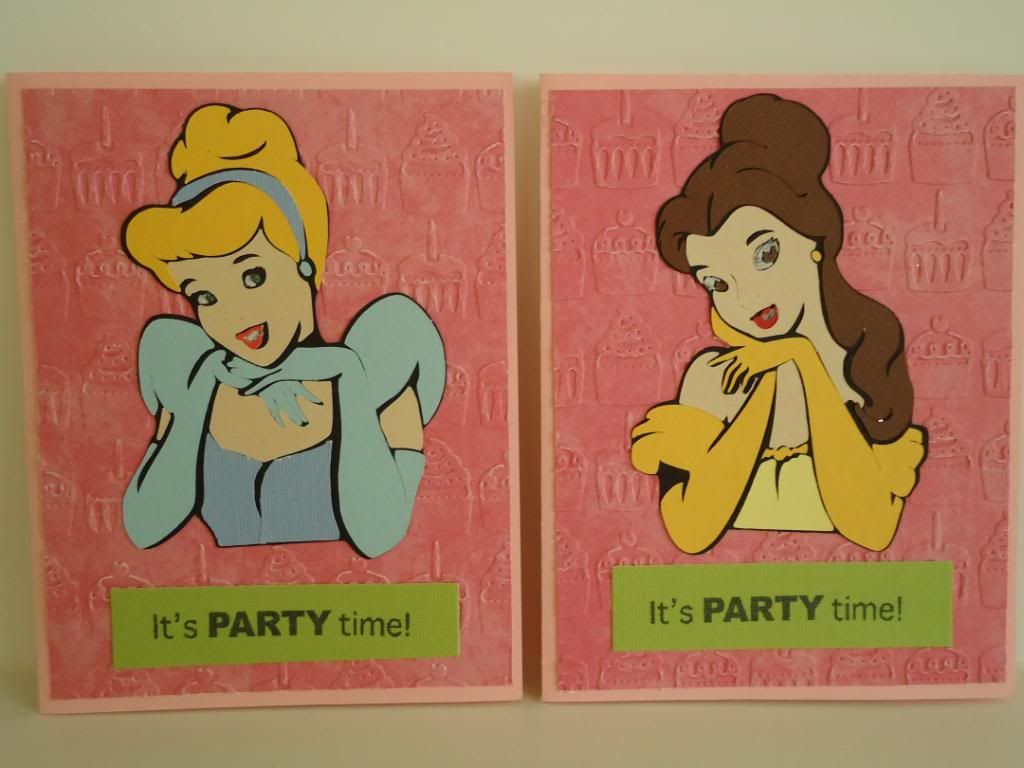
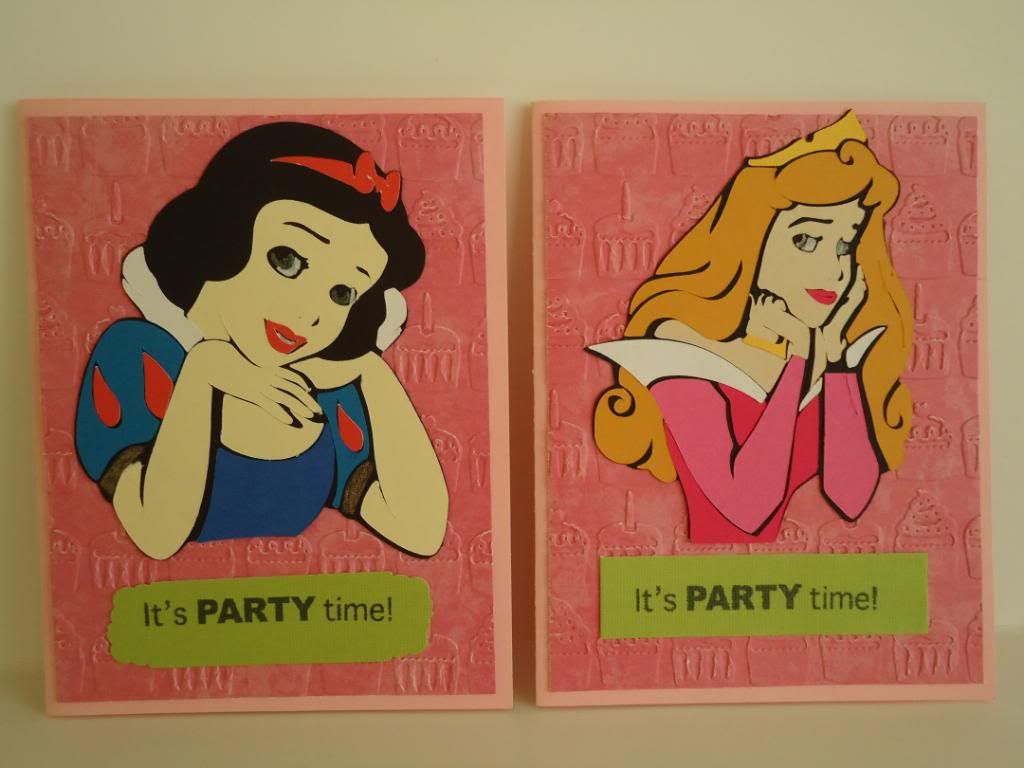
Ok, so I will be making items for her party and showing them as I finish them, so here is what I made first...Her Invitations
I used Happily Ever Atfer and Dreams Do Come True Cricut cartridges and these are all cut at 4". I must say this was the first time I have used these carts and what a pain in the a......  They are so hard to cut out because there are so many little pieces. Finally, I gave up on the eyes and just colored them in. And the lips--- geez they are so little it kept ripping my paper. So after 3 hours of putting 6 cards together I told Princess Kayla that she could only invite 6 friends... ( Anyone want to buy these carts? I will give them away...LOL Just kidding but I totally wanted to throw them across the room while I was working on this!)
But Kayla was very happy with how they turned out and was very excited to give them to her friends at school today.

Friday, December 30, 2011

Teacher Gifts- Hot Chocolate holders

Happy Friday everyone!

Are you all ready for New Years? I can not believe how fast this year has gone by.. My MIL was right once you turn 21 time flies! LOL! I remember I couldn't wait to turn 21 so I could go out and party! I am way past that age now and time just flies by.
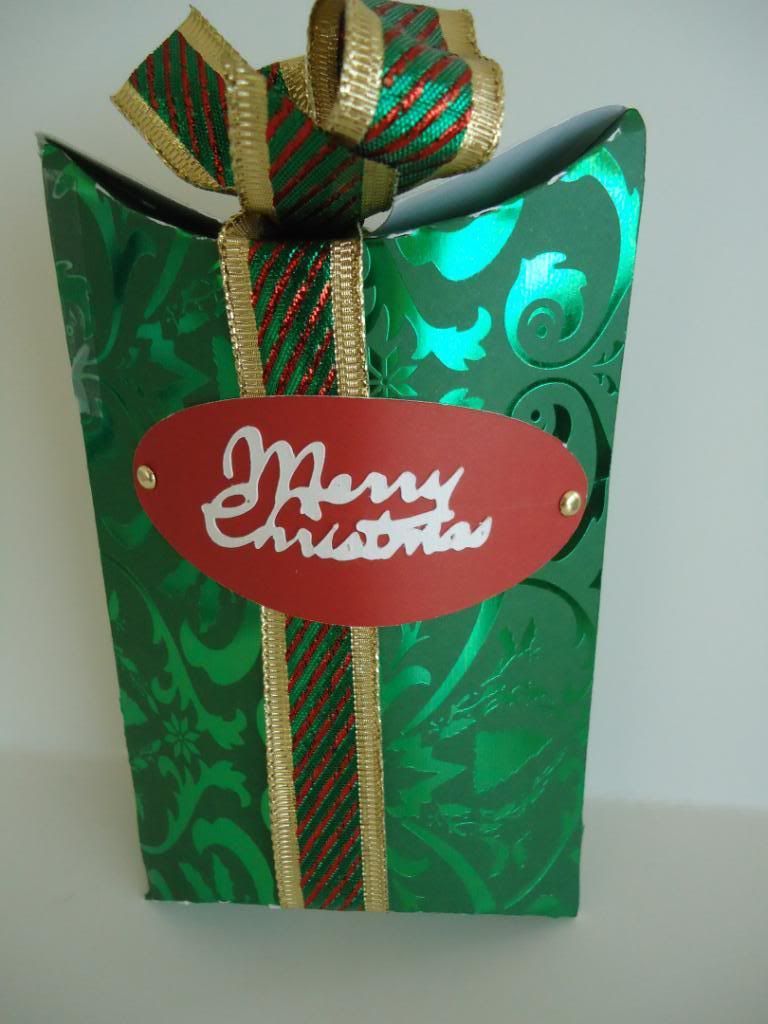
Today I have some more coco holders to share with you.
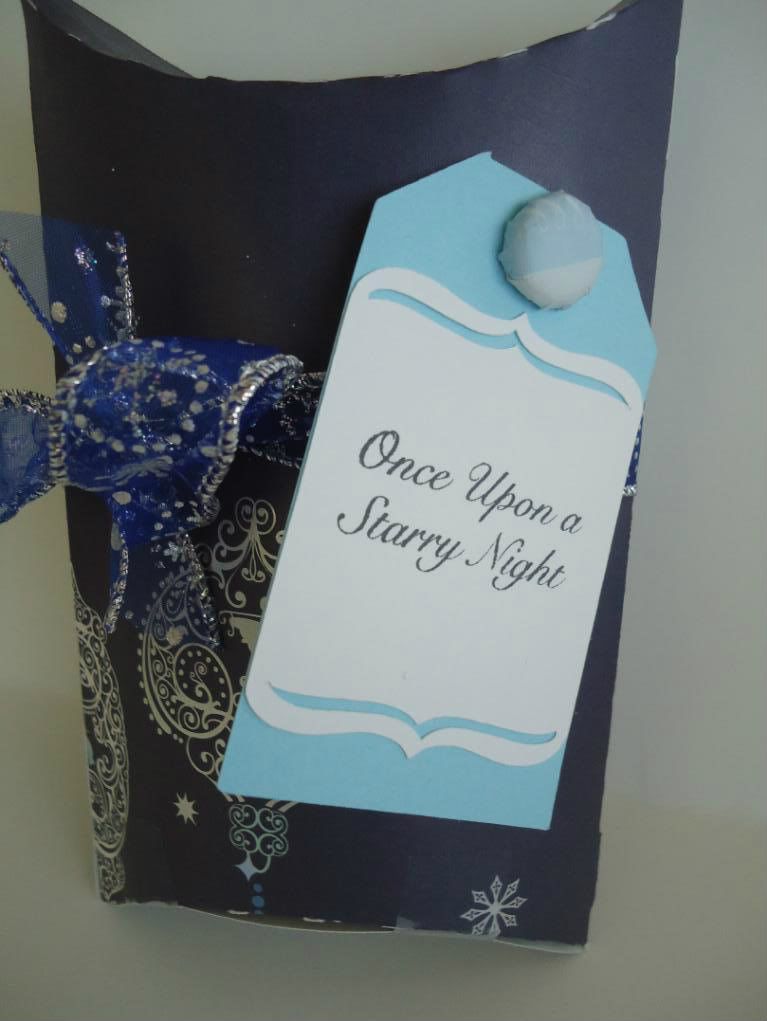
I hope you enjoy and if you want the measurements check out the post before this one and it has all the instructions.
I hope you all have a SAFE and happy New Year!

Thursday, December 29, 2011

Teacher Gifts- Hot Chocolate holders

Hi crafty friends,

I wanted to share with you some of the teacher gifts I made for Christmas.
These are hot chocolate holders
The one on the left, the flowers are cut from Flower Shop, and the right one the mittens are cut from Winter Frolic
Both of these are cut from Art Philosophy, and then for the tree I used the stamp set that came with the Art Philosophy package.
These coca cards are so easy to make and really do make nice gifts for teachers or co-workers.
Here are the measurements:
Cardbase is cut at 4.25 x 11 score at 4.25 and 10 fold along score lines
rectangle on front is cut at 4x3
then decorate as you desire.
the center the coca packet at the top and the middle on the inside of the card, then punch two holes along the top- and secure the coco packet with a ribbon through the two  holes.
Check back tomorrow and I will be showing some more of the holders I made.

Sunday, December 25, 2011

Etched Glass Candles

Merry Christmas!

I hope everyone is having the best day ever. We are certainly having fun. The kids woke up bright and early this morning- I mean really early it was still a little dark outside! LOL! We opened and presents and then went to my Mom's house for breakfast. Now we are home again, relaxing and watching movies.

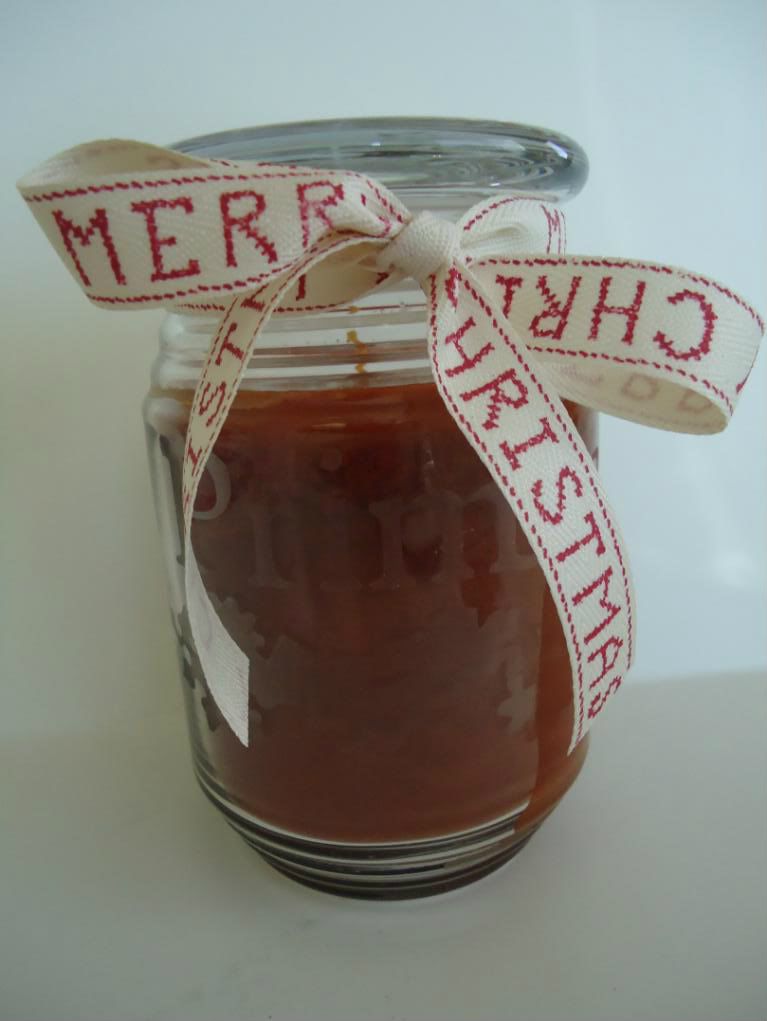
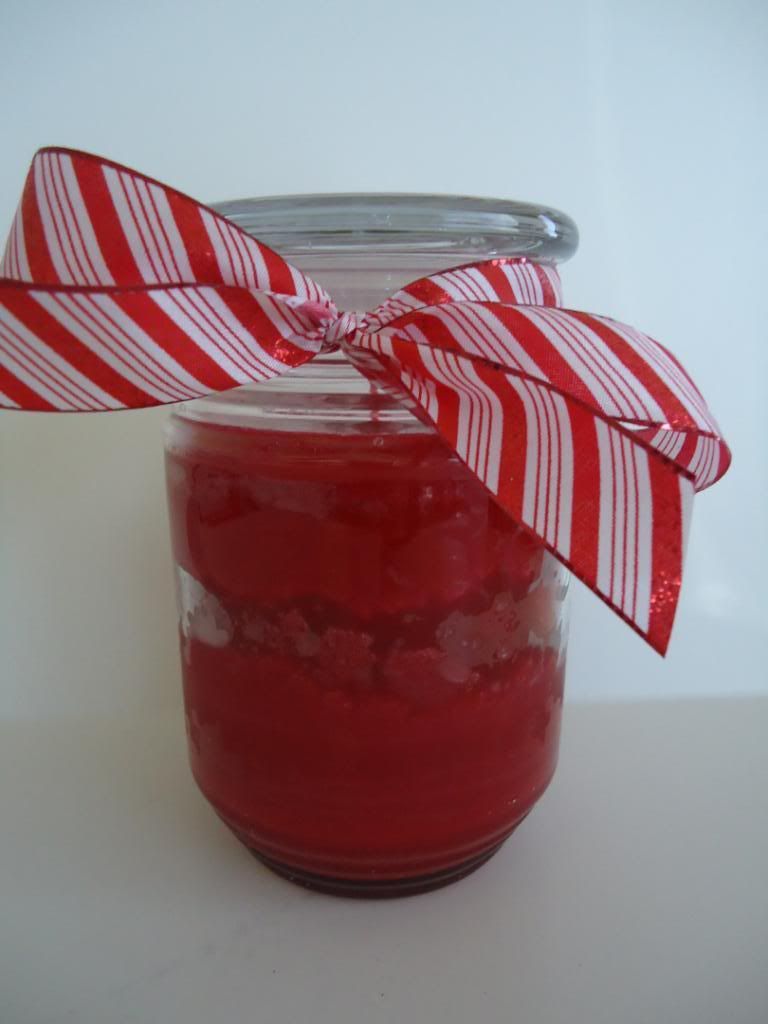
I thought I would share with you some glass etched candles I made for Christmas presents. This was the first time I tried glass etching and learned a couple of tricks that I will share with you.
This candle was for my sister. I used Platin Schoolbook for the letters (their last name) and the design is from Art Philosophy, it is the snowflake border.

Ok so here are some of my tips that I learned while doing this.
1. Use contact paper instead of vinyl to cut out your designs- it is much cheaper about $5 for a roll with tons on it at Walmart, and it works just as well.
2. Make sure you get all the air bubbles and stick down all the edges really well.
3. Make sure you wear gloves when applying the etching cream
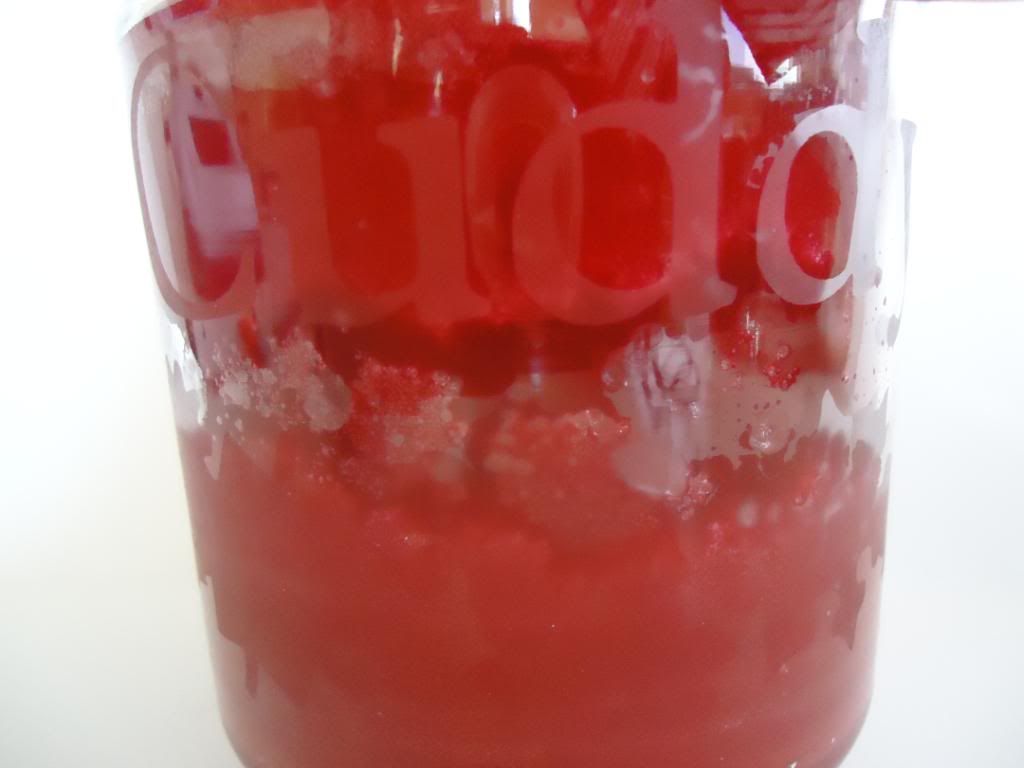
4. Make sure you used or put on a thick layer of the cream- As you can see in the Red candle I didn't coat it on thick enough it is really hard to read.
5. Candles- these were the holiday candles from Michael's that went on sale for 3 for $10- they have a lot of air bubbles in them so it is really hard to read the words.- Maybe use higher end candles?
Hope you all are having a wonderful Christmas

Thursday, December 22, 2011

Gift Card Holders & Gift Boxes

Happy Thursday Everyone!

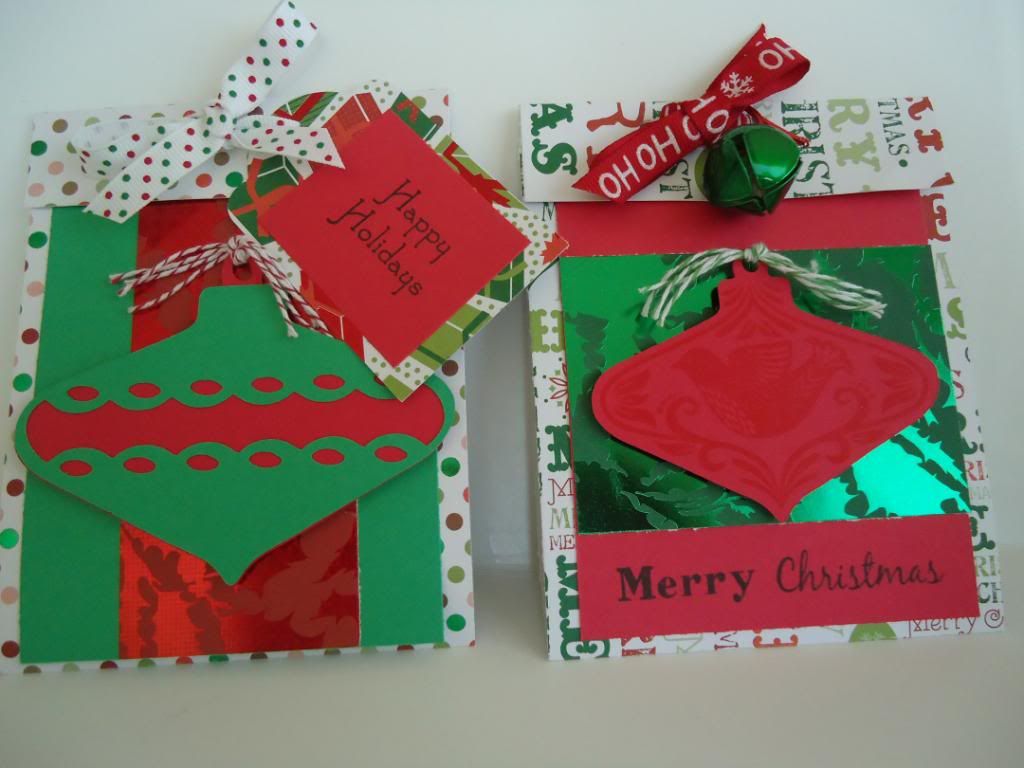
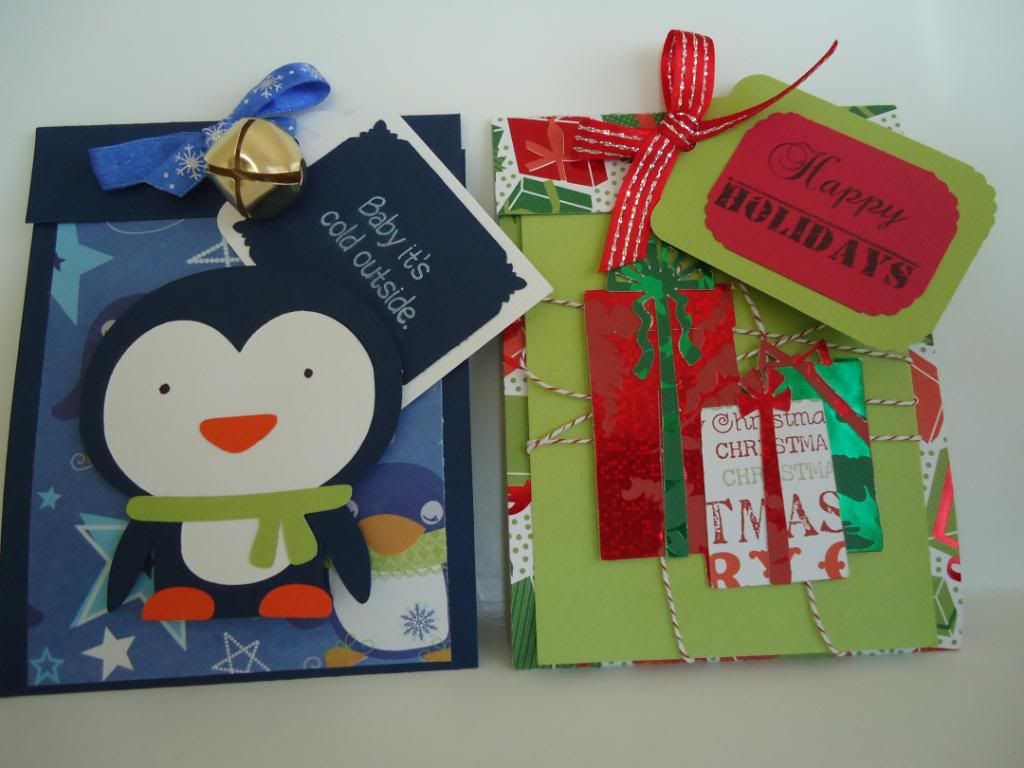
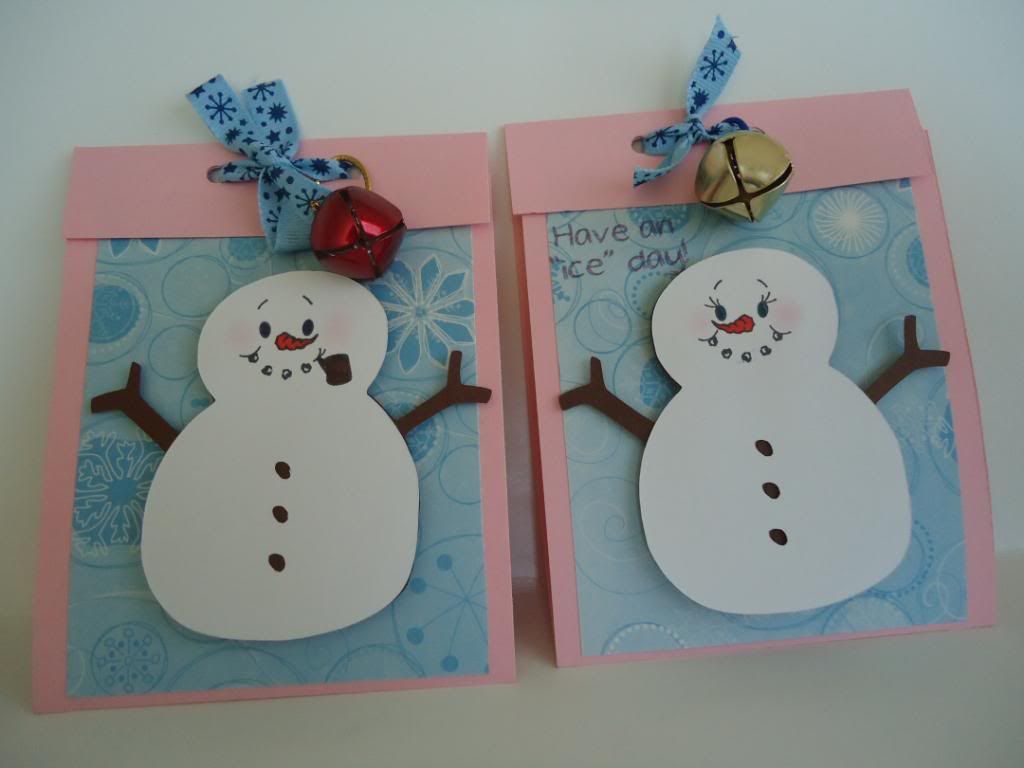
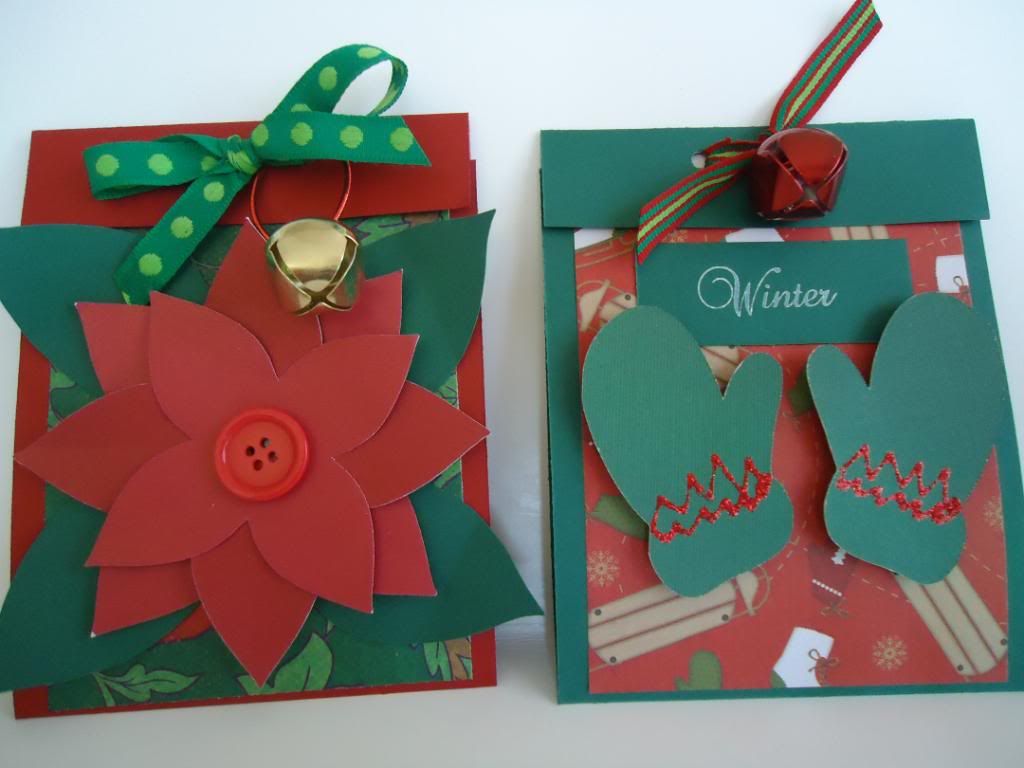
I am so excited because I have the next 5 days off of Christmas and I am ready for it. I am taking the extra time off before Christmas to finish up my Christmas projects and I wanted to share with you a quick idea for Gift card holders. I saw this idea on the Cricut Message board, I can't remember the poster, but I will try to find it.

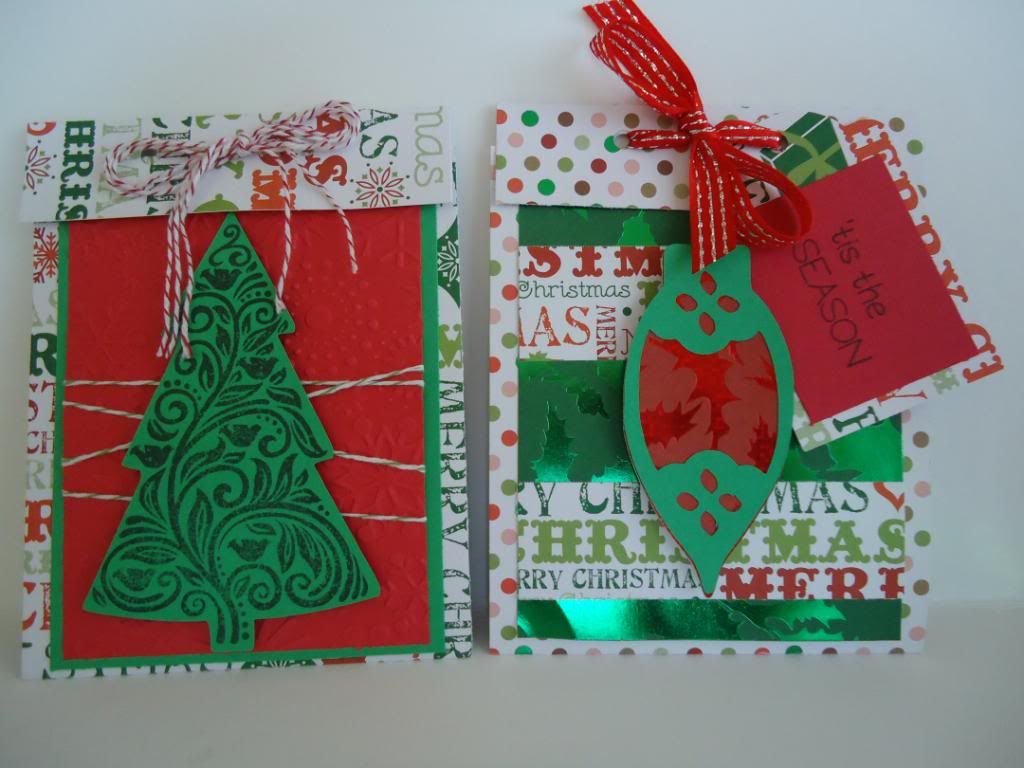
Here is a Gift card holder I cut out with Wildcard, page 46 called All in One, it is cut at 4.25"
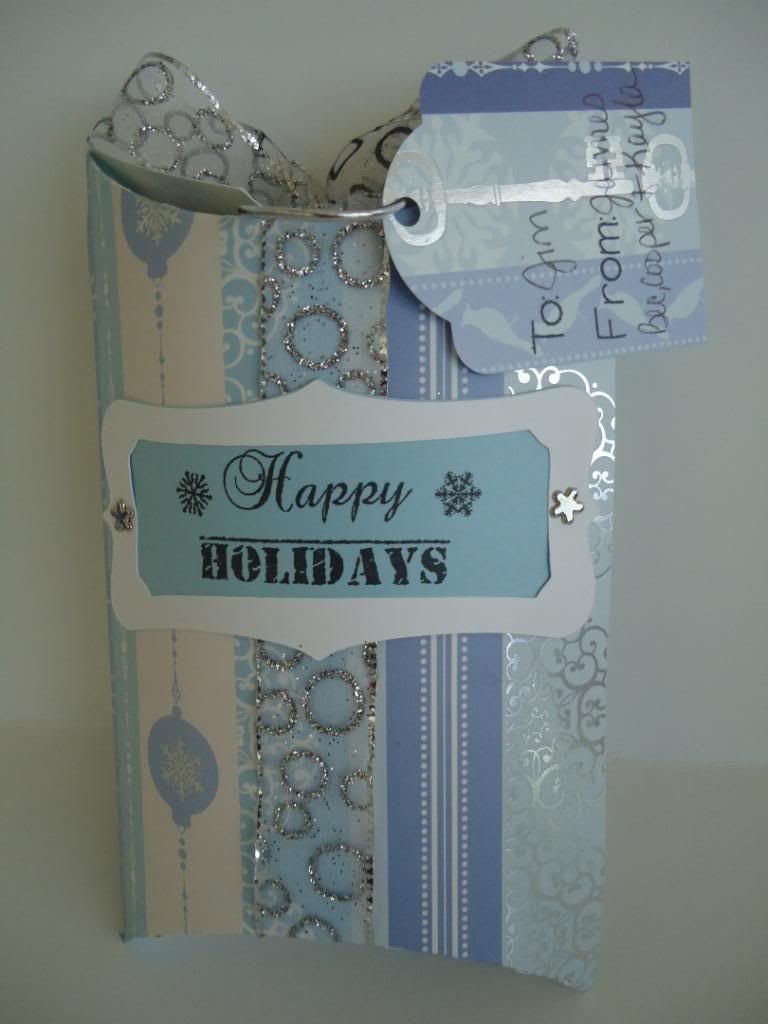
Then I made these boxes to put the gift card holder in so they also have a present to open on Christmas too.

I got this box idea from the Cricut message boards and I just loved it so much, I used Art Philosophy for the box cut and all the tags and labels on the boxes, then added name tags and ribbon. I think is is great because then the people who get gift cards feel like they have something to open too.

Make sure you check back tomorrow, I made some glazed candle holder (my first time) and I can't wait to share those presents with you.