Welcome to my blog!

I hope you will look around and leave comments if you would like.
Showing posts with label Art Philosophy. Show all posts

Sunday, December 30, 2012

Jaded Blossom December Challenge: Crafters Choice

Hi Everyone
I hope you all had a Merry Christmas! Mine was very busy. I have had this horrible cold that just won't go away and it hasn't stopped snowing here since last week. Today is this 1st day I have felt a little better and I cleaned up my craftroom a little to get a project done for the Jaded Blossom Monthly Challenge.
If you haven't checked out their stamps you have to take a looksy lou here. I absolutely LOVE them. I only have a couple of sets but they are some of the best stamps I owe. They made them mainly for using on gifts and they just have the cutest sayings!

Here is some little gifts I made for our friends children. I used the stamp set called Reindeer Magic. I got this set from my sister for Christmas and I couldn't wait to try it out.

This is the Reindeer Poop poem, I just love it! This is the front of the tag I created
and the back.
These are the little bags I made.
I filled them up with Christmas Hersey kisses, mint, almond and regular.
You can enter the Challenge over at Jaded Blossom.

Saturday, July 28, 2012

PBD Challenge 10- Go Wild

Today I am playing along and helping Pink By Design celebrate their 2 year Anniversary!! YAY!

Here is Challenge 10 Go Wild- The challenge was to use an animal or animal print in your project.

Here is a cute card I made for the challenge.
I used the DCWV paperpack, and Art Philosophy cartridge for the tag for the saying. The stamp is by PBD- All in the Family.

Hope you enjoy and make sure you come back tomorrow to see the winner of last week's blog hop.

Monday, May 21, 2012

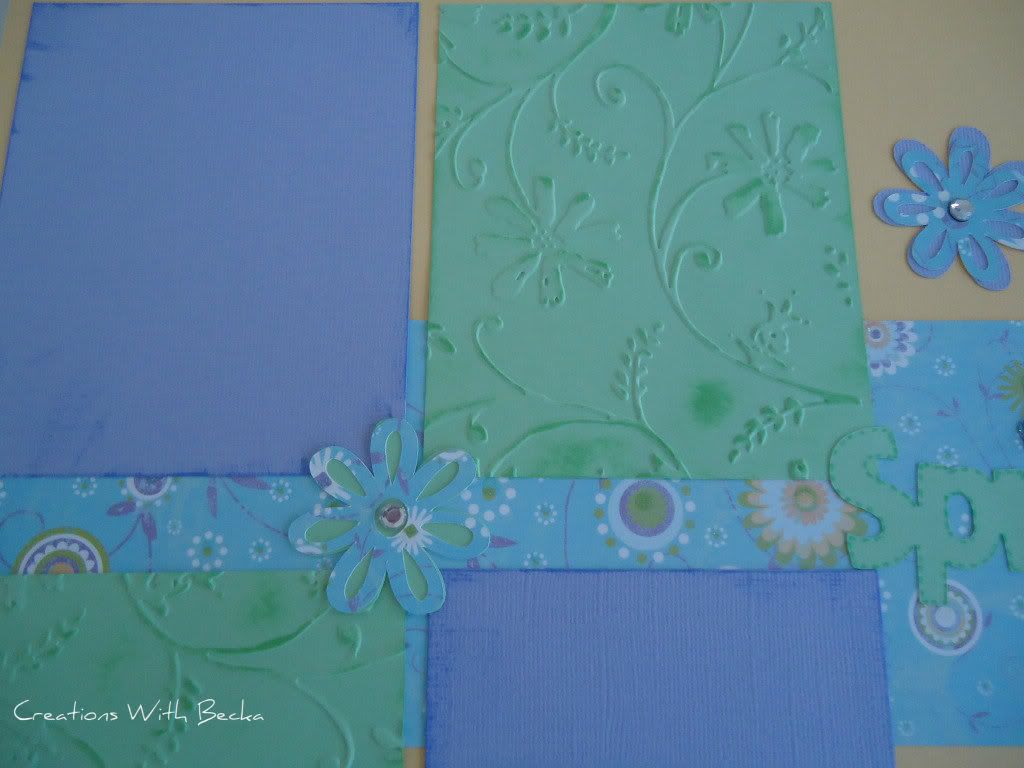
Spring Layout

Hi All
I hope you all had a great weekend. Last week was the start of having Fridays off for the Summer. YEA!!! I love having Fridays off. I went and got a pedicure which was so nice and so well needed! LOL! I did some shopping for some up coming swaps and then got some crafting done too. It was a great day. Saturday I went to an all day crop which was so much fun, it was nice seeing my friends and my tummy hurts from the non-stop laughing. I actually got some stuff completed too. LOL!
Here is a Spring layout I made. I used mostly scraps that were laying around my craft table.
I used Art Philosophy for the flowers and Seasome Street Seasons for the Spring saying. The patterned paper is from DCWV.
Make sure you check back tomorrow, I will be openning the box I received in a box swap and revealing what was inside, I am soooo excited and can't wait to open it. It will be posted later in the day when I get off work.
Hugs

Monday, April 16, 2012

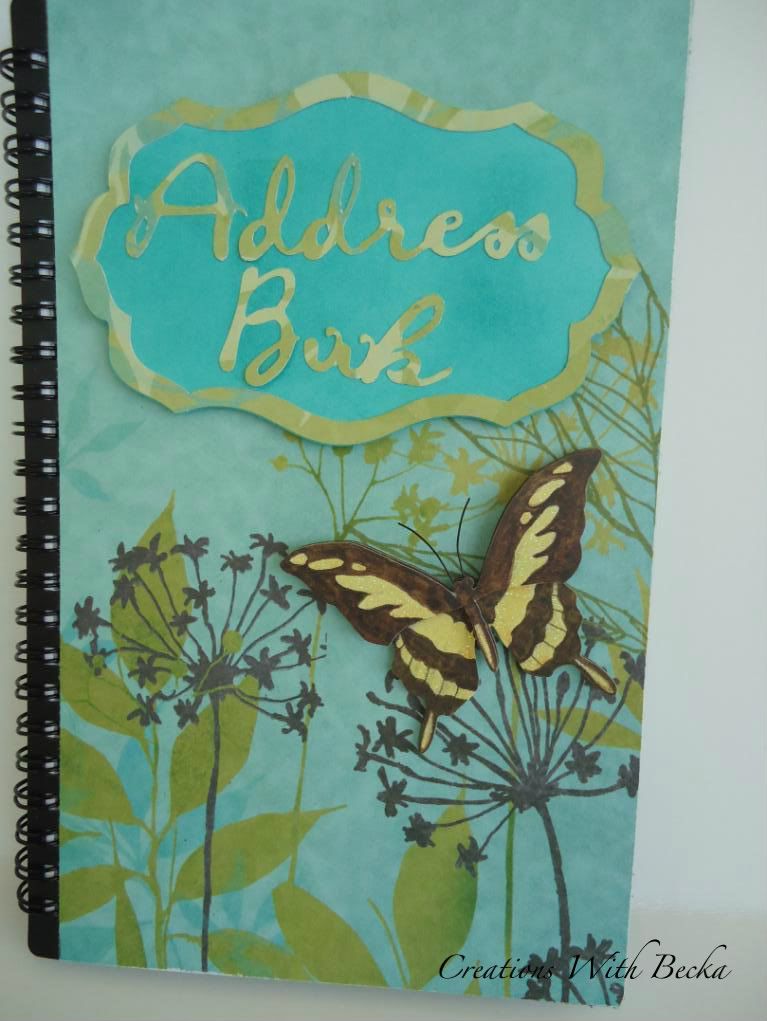
Altered Address Book & New Stamps

HI Everyone
I am so excited- Only 1 more day of Tax Season!!! WOOHOO! Then I can get back to my crafty self! LOL!

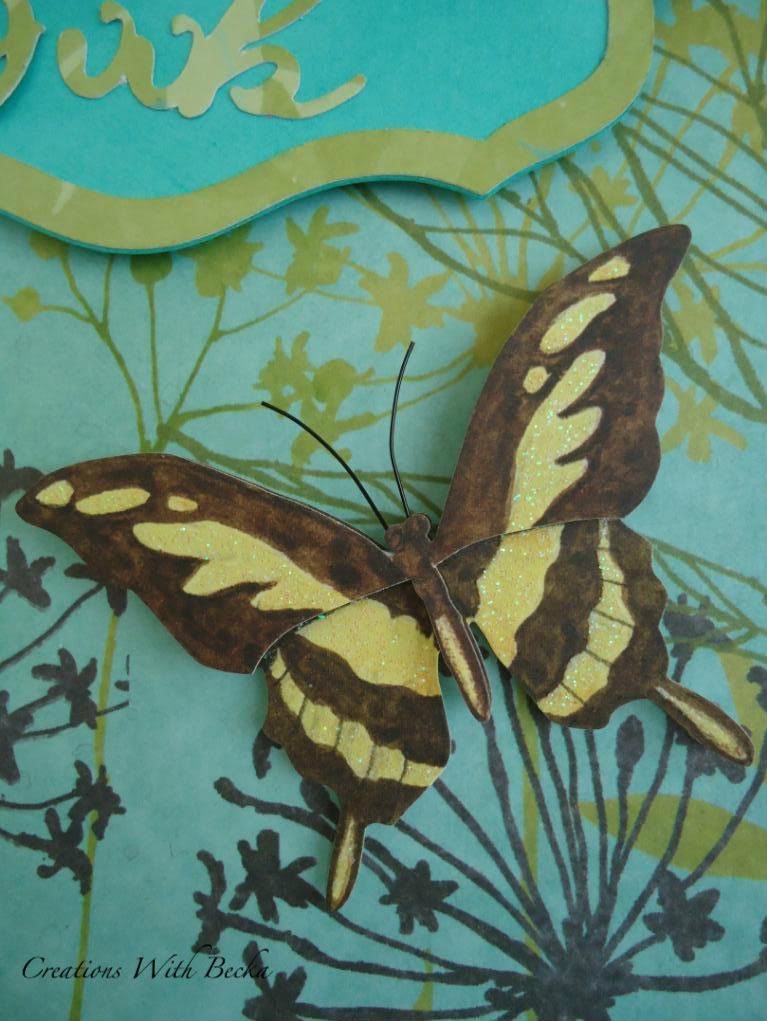
Just wanted to share with you today an address book I made for one of my friends. I took an address book from Big Lots and blinged it up a little.
I just love the way it turned out.
I also wanted to share with you the Tim Holtz stamps I received in my store today. They are $15.99 so check them out that is an awesome price.  http://www.whatsscrappin.com/


And there is tons more. Plus I have Xyron sticker machine refills at a smokin deal! Check it out at http://www.whatsscrappin.com/

Tuesday, March 27, 2012

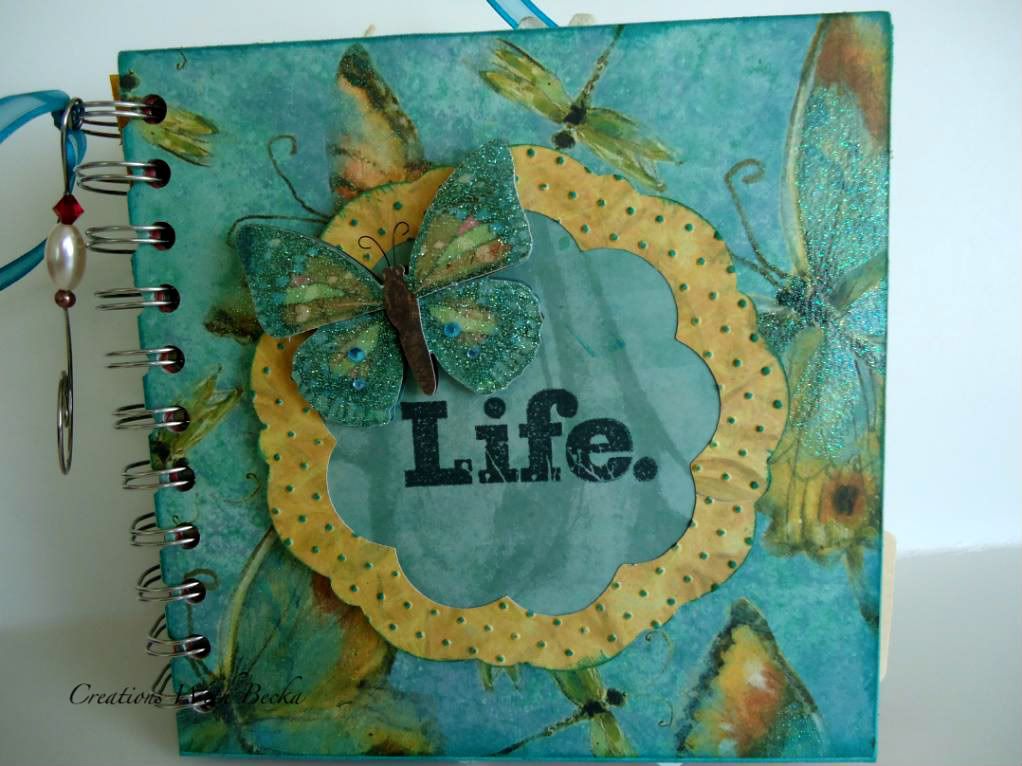
LIFE Mini Album

Hi Fellow Crafty Crafters!

I hope you all are enjoying your Tuesday as much as I am. I am so excited today because Jinger Adams is having her design team call over at Jinger's Blog, and I decided to make this mini album to apply for the team.
 I found this gorgeous K & Company paperstack at Joann's and I just had to use it. But you know when you get a paperstack and only some of the papers are cute? Well every page in this book was so awesome I knew I had to make an album to enjoy every page! LOL!

This is a 6 x 6 Mini Album
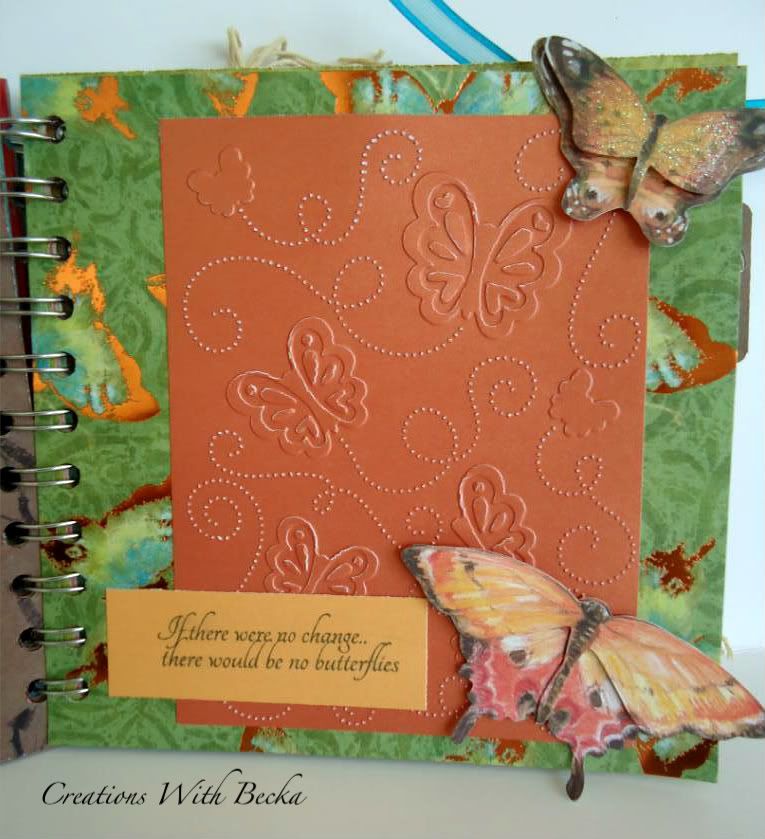
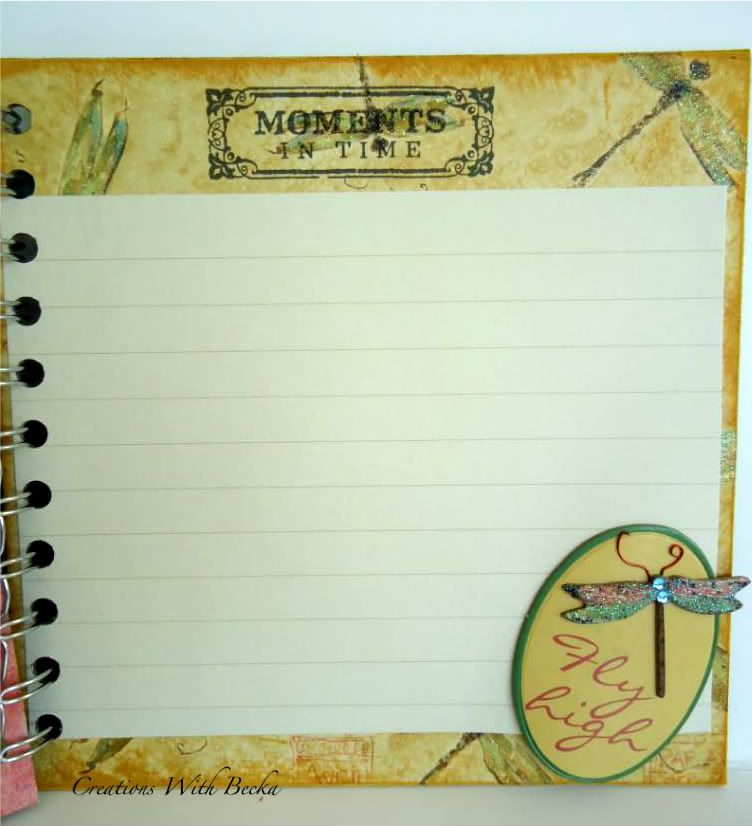
I just love the butterflies on this front cover. I used Art Philosophy for the circle cut and the butterfly is from of the coordinating accessories from K & Company. The paperstack is called Nature.
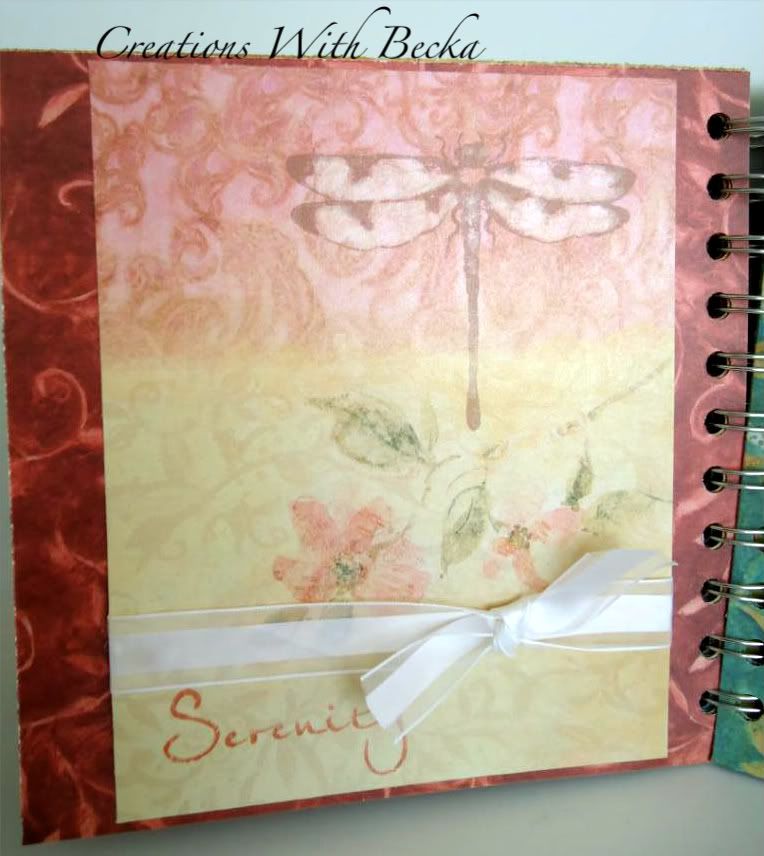
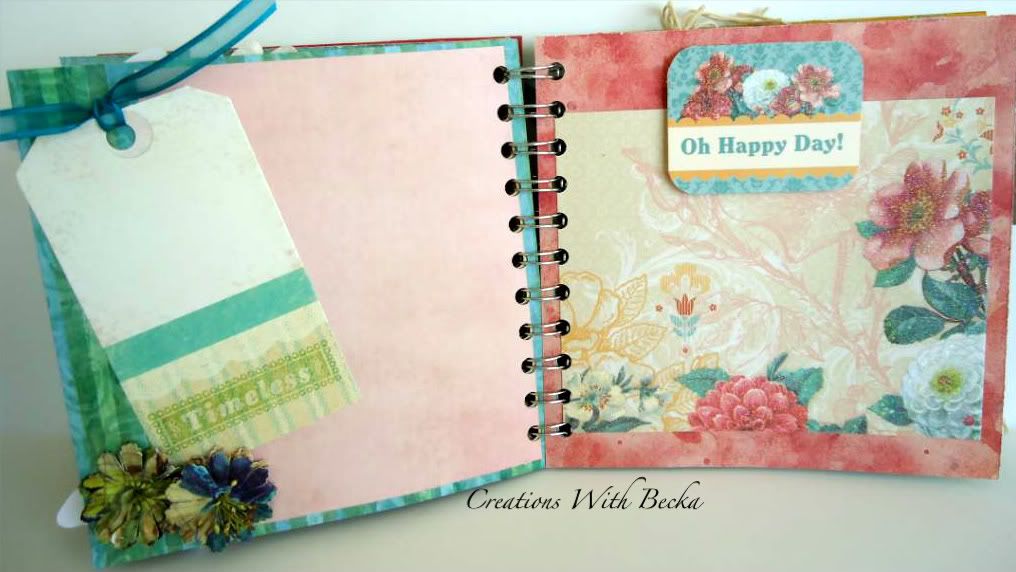
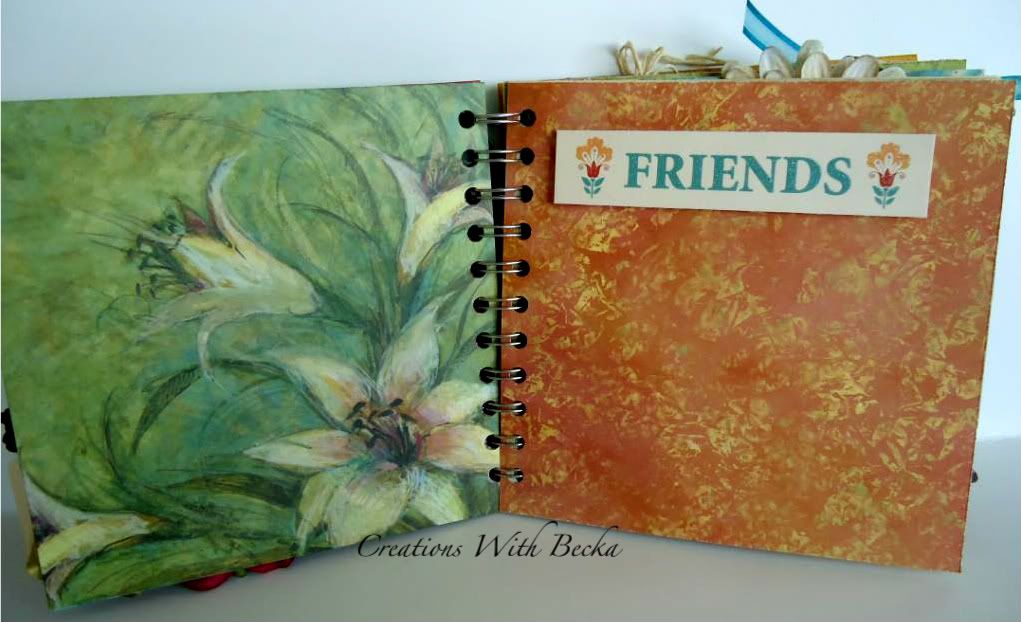
I thought this paper was so beautiful, I tried not to decorate it too much because I did not want to cover up the original design.
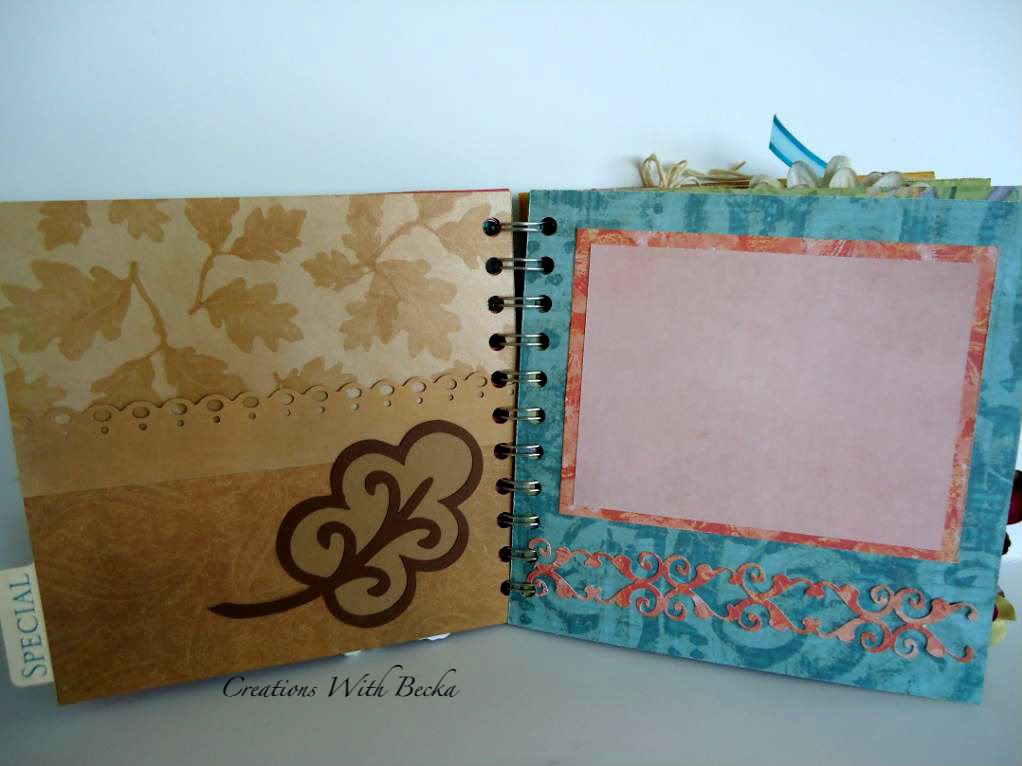
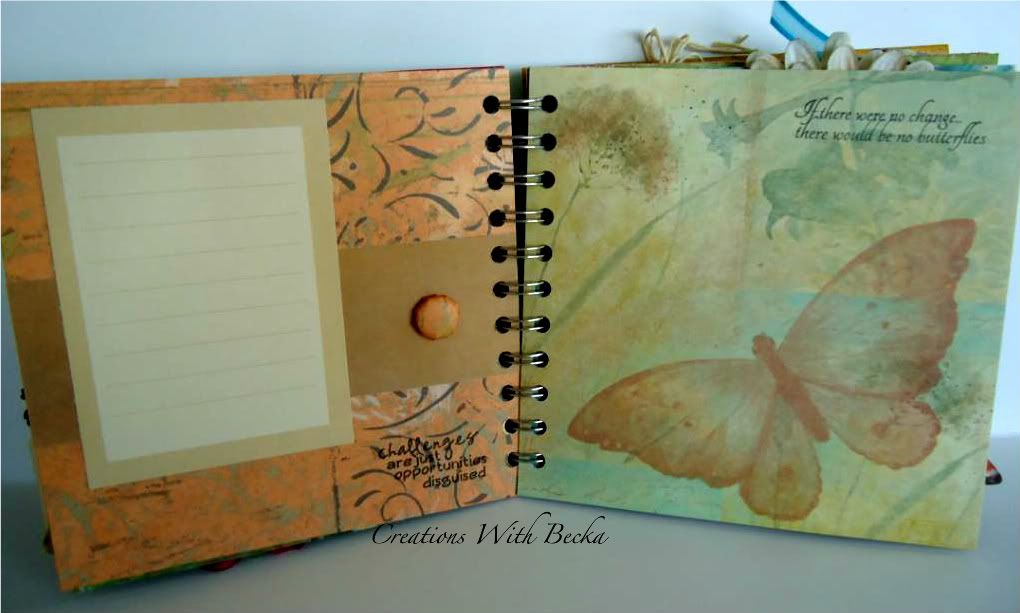
I put a pocket on this 1st page for memorabilia and left a photomat on the other side. I also used Art Philosophy for these pages.


Some of this paper was so hard to cover because it is so beautiful!
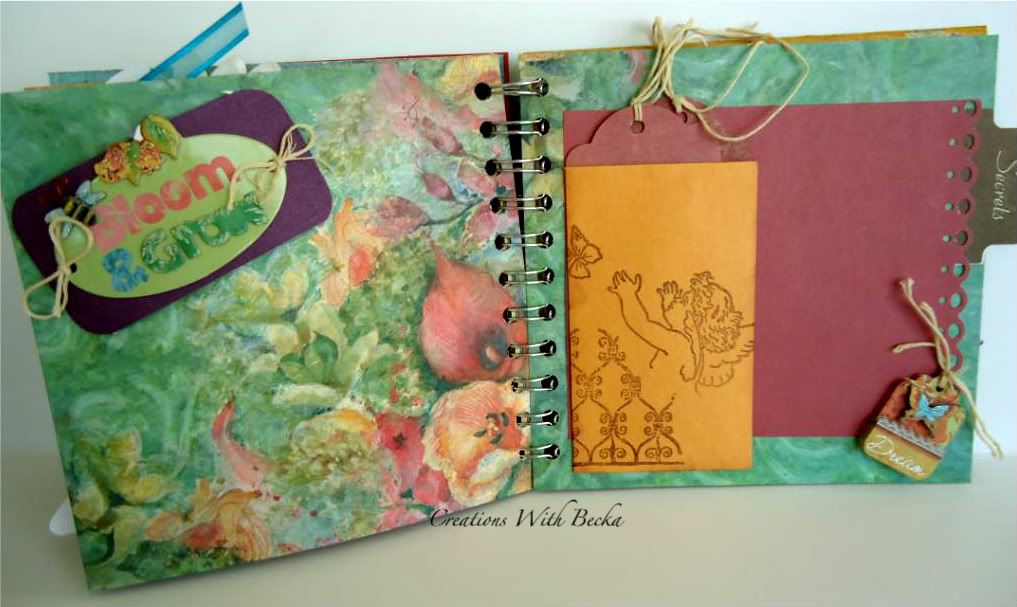
I got that cute little envelope from a SMASH swap I was in, and I thought it just looked so awesome on this page.
This is the back page of the album. So what did you think? Isn't this paper just gorgeous!

Recipe
6 x 6 cardboard
Nature paperstack- K & Company
Accessories matching- K& Co
Cinch binding machine
Art Philosophy Cartridge
Paper Trimmings Cartridge
LIFE Stamp- $1 bin at Michaels
CTMH Stamps and ink
Thanks for stopping by today and I hope you will stop by tomorrow for a altered notebook I made with this awesome paper.

Monday, January 30, 2012

Monthly Cricut Circle Challenge

Good Monday Morning,

Hope you all had a great weekend. Mine was awesome! My son's friend came over for a sleep over and ended staying the whole weekend, but Cooper had so much fun. We worked on Cooper's Science Fair project and I got time to work in my craft room (YAY!), and Sunday was absolutely beautiful here in Reno. It was 62 degrees here and we got to play outside for a while. We also baked cookie, and they are so yummy! LOL!

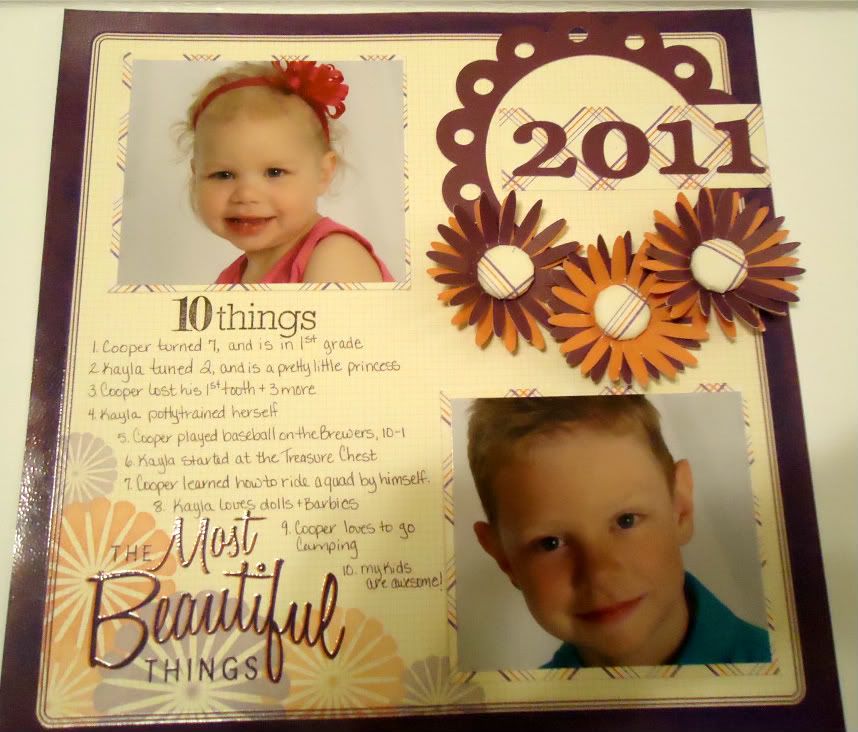
So this months Cricut Circle Challenge was to make either a layout or a mini album with the theme Year in Review 2011. You had to use at least 2 cricut cuts on your project. So I decided to do a layout summarizing my childrens year.
I used the DCWV paper from The Mod- Retro Stack, all the cuts are from Art Philosophy cartridge, 10 Things stamp from CTMH and orange and purple cardstock. And I made my own brads with the I-top, 22mm head.

Friday, December 30, 2011

Teacher Gifts- Hot Chocolate holders

Happy Friday everyone!

Are you all ready for New Years? I can not believe how fast this year has gone by.. My MIL was right once you turn 21 time flies! LOL! I remember I couldn't wait to turn 21 so I could go out and party! I am way past that age now and time just flies by.

Today I have some more coco holders to share with you.
I hope you enjoy and if you want the measurements check out the post before this one and it has all the instructions.
I hope you all have a SAFE and happy New Year!

Thursday, December 29, 2011

Teacher Gifts- Hot Chocolate holders

Hi crafty friends,

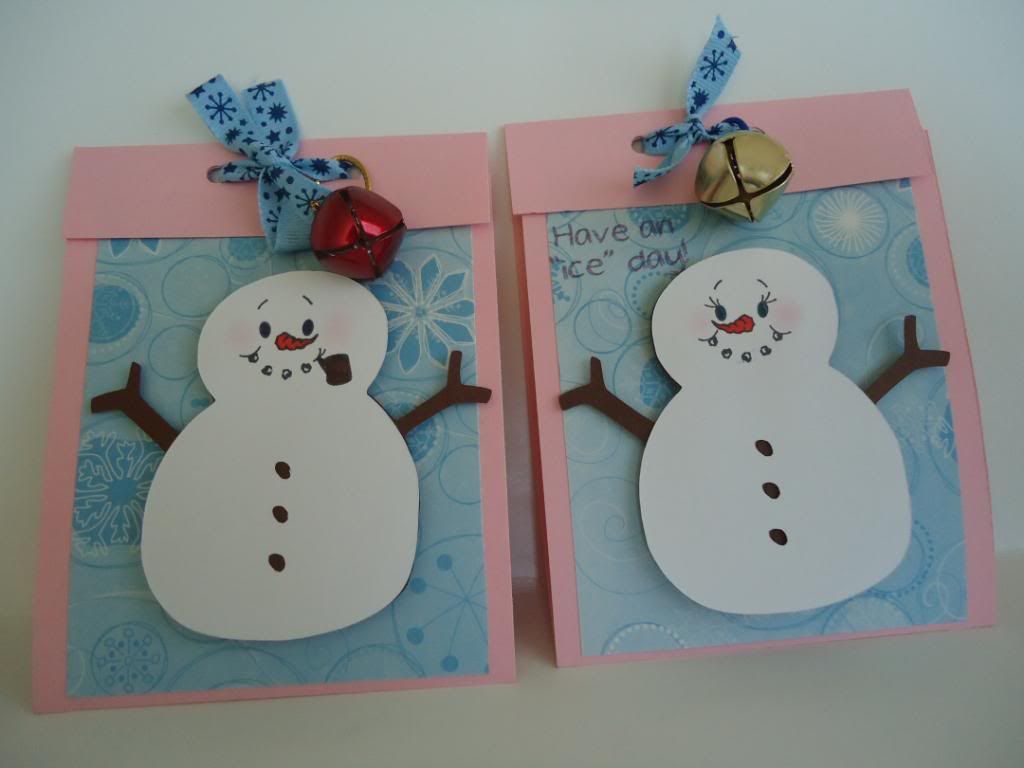
I wanted to share with you some of the teacher gifts I made for Christmas.
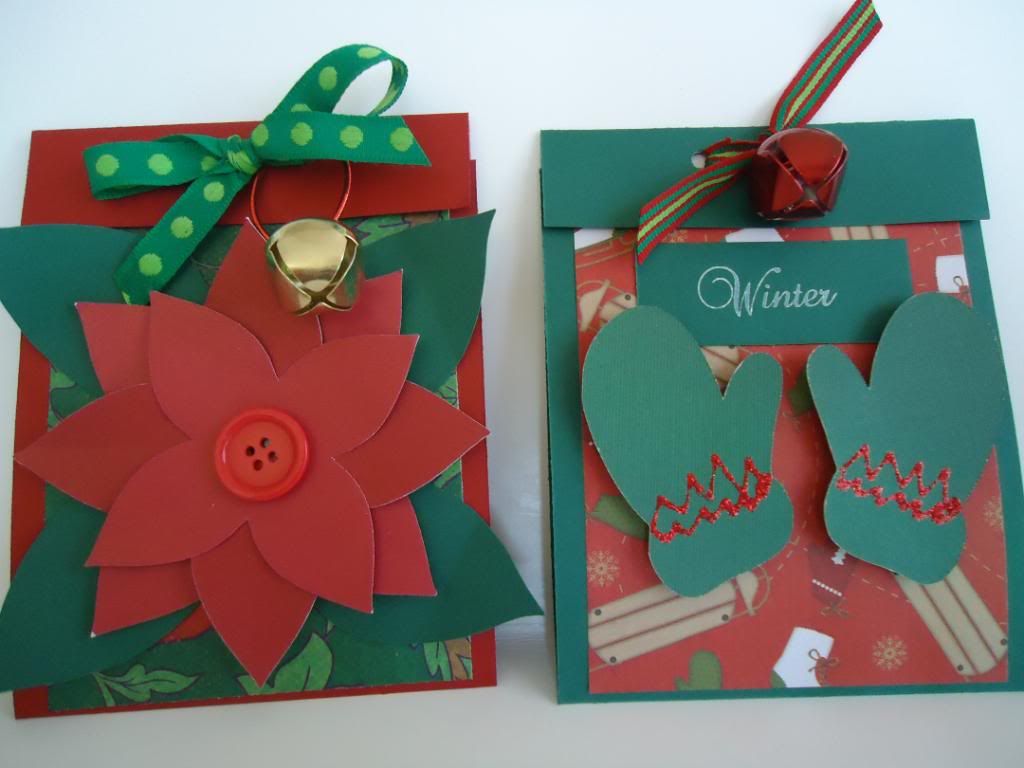
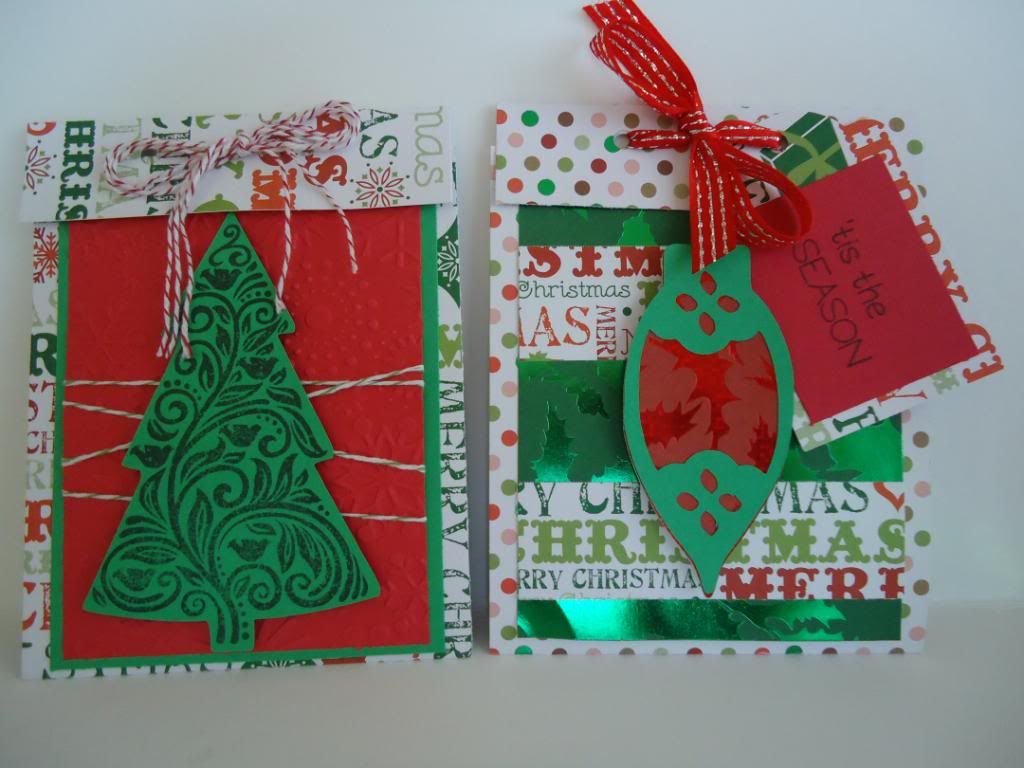
These are hot chocolate holders
The one on the left, the flowers are cut from Flower Shop, and the right one the mittens are cut from Winter Frolic
Both of these are cut from Art Philosophy, and then for the tree I used the stamp set that came with the Art Philosophy package.
These coca cards are so easy to make and really do make nice gifts for teachers or co-workers.
Here are the measurements:
Cardbase is cut at 4.25 x 11 score at 4.25 and 10 fold along score lines
rectangle on front is cut at 4x3
then decorate as you desire.
the center the coca packet at the top and the middle on the inside of the card, then punch two holes along the top- and secure the coco packet with a ribbon through the two  holes.
Check back tomorrow and I will be showing some more of the holders I made.

Sunday, December 25, 2011

Etched Glass Candles

Merry Christmas!

I hope everyone is having the best day ever. We are certainly having fun. The kids woke up bright and early this morning- I mean really early it was still a little dark outside! LOL! We opened and presents and then went to my Mom's house for breakfast. Now we are home again, relaxing and watching movies.

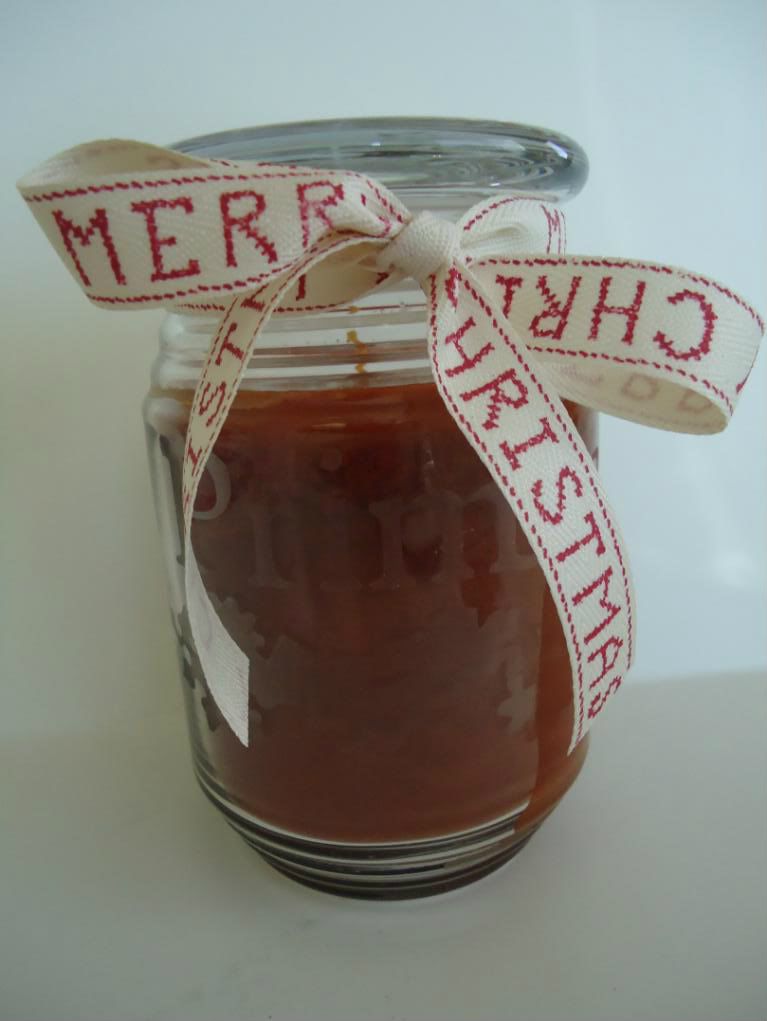
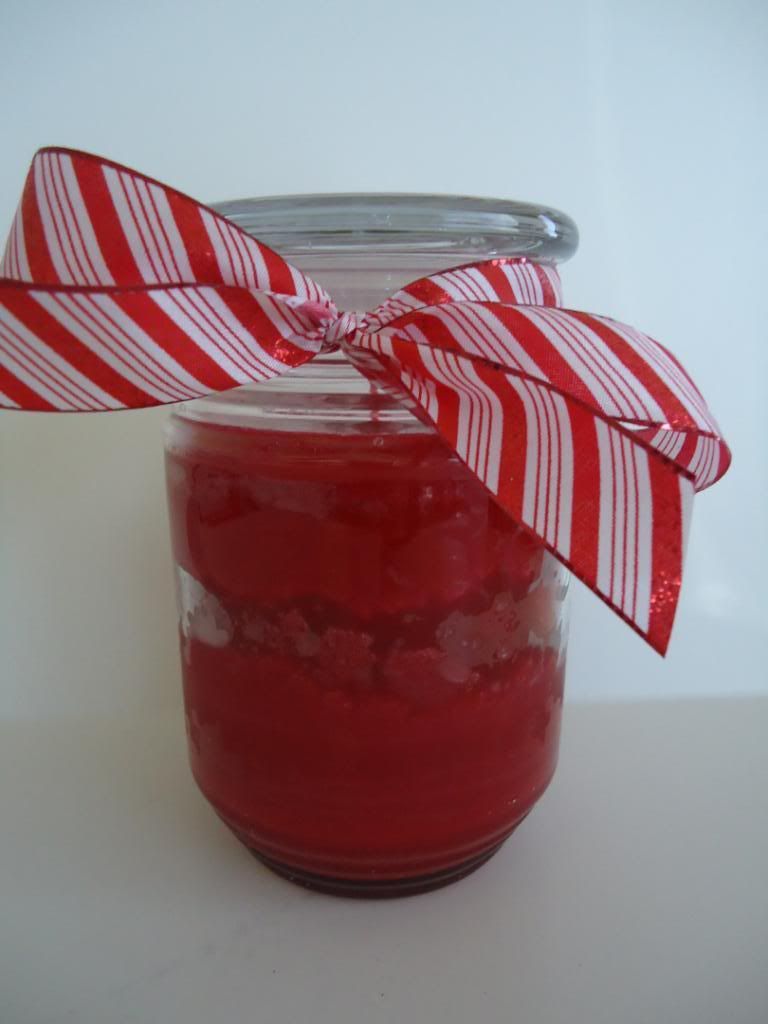
I thought I would share with you some glass etched candles I made for Christmas presents. This was the first time I tried glass etching and learned a couple of tricks that I will share with you.
This candle was for my sister. I used Platin Schoolbook for the letters (their last name) and the design is from Art Philosophy, it is the snowflake border.

Ok so here are some of my tips that I learned while doing this.
1. Use contact paper instead of vinyl to cut out your designs- it is much cheaper about $5 for a roll with tons on it at Walmart, and it works just as well.
2. Make sure you get all the air bubbles and stick down all the edges really well.
3. Make sure you wear gloves when applying the etching cream
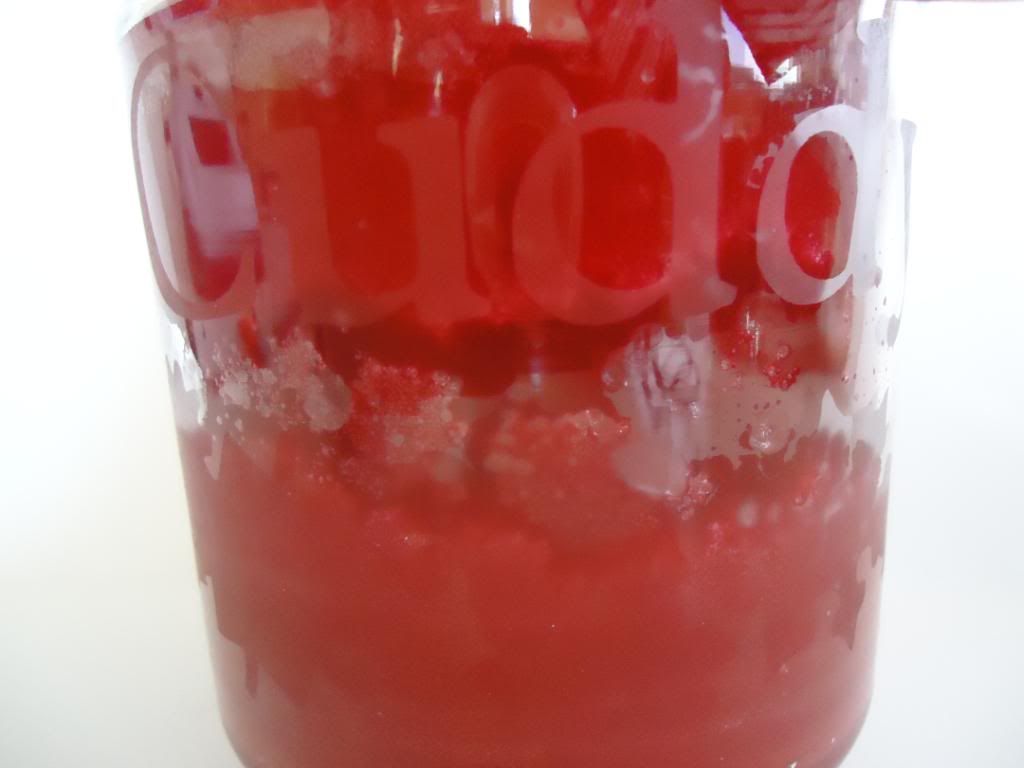
4. Make sure you used or put on a thick layer of the cream- As you can see in the Red candle I didn't coat it on thick enough it is really hard to read.
5. Candles- these were the holiday candles from Michael's that went on sale for 3 for $10- they have a lot of air bubbles in them so it is really hard to read the words.- Maybe use higher end candles?
Hope you all are having a wonderful Christmas

Thursday, December 22, 2011

Gift Card Holders & Gift Boxes

Happy Thursday Everyone!

I am so excited because I have the next 5 days off of Christmas and I am ready for it. I am taking the extra time off before Christmas to finish up my Christmas projects and I wanted to share with you a quick idea for Gift card holders. I saw this idea on the Cricut Message board, I can't remember the poster, but I will try to find it.

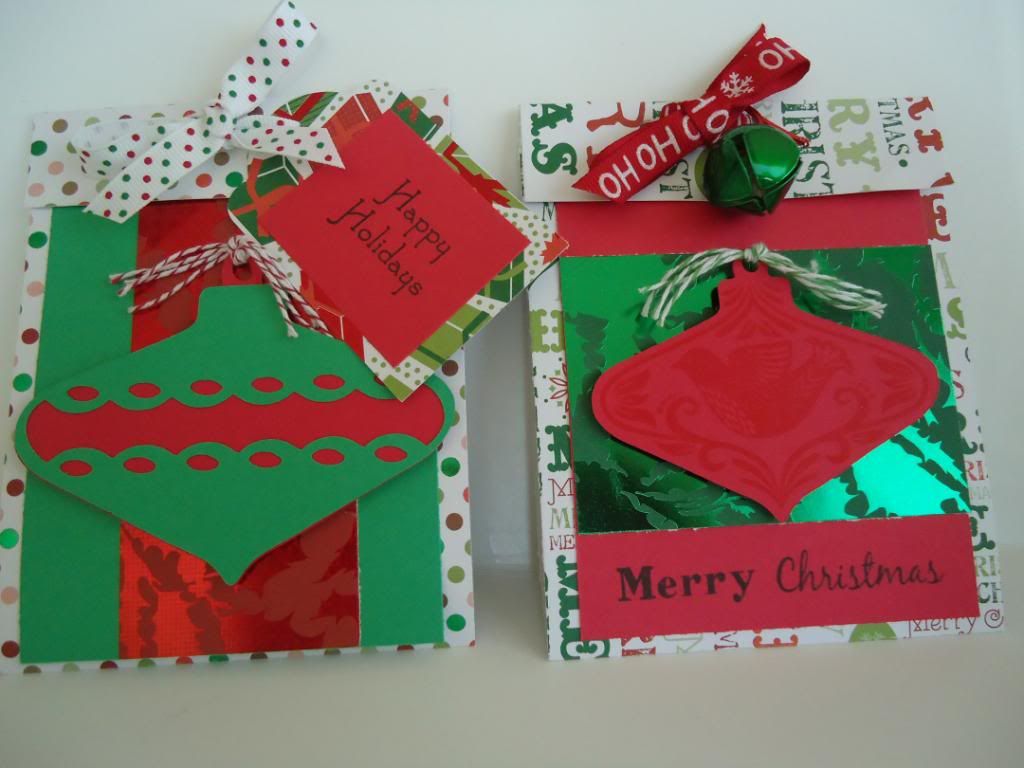
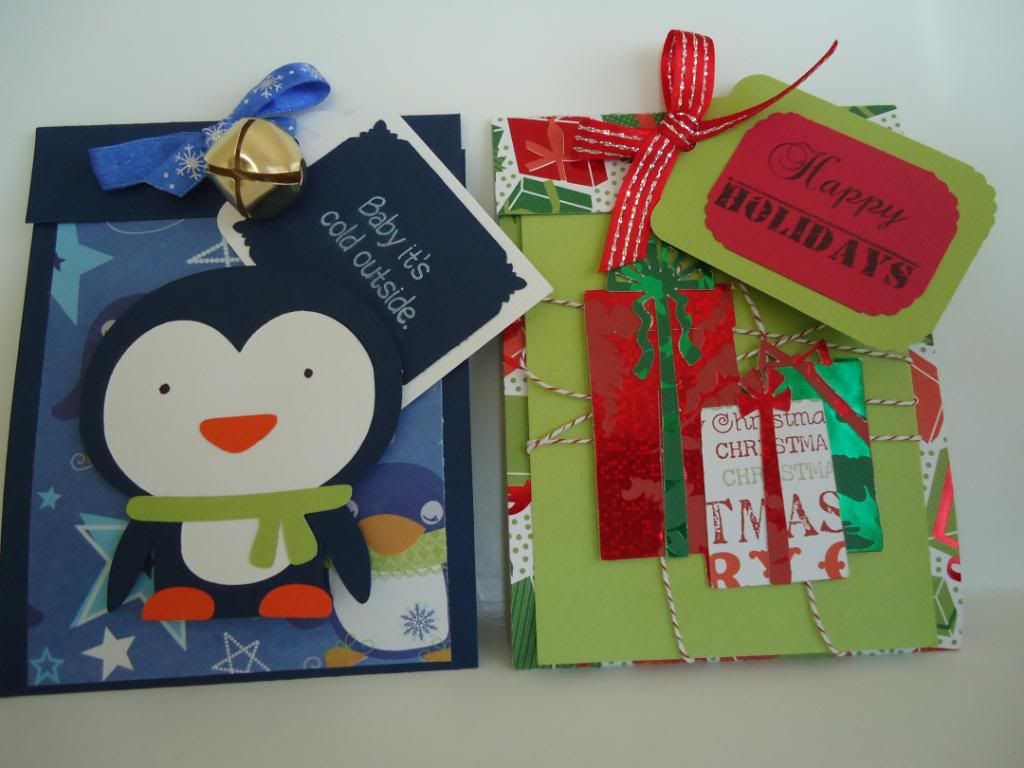
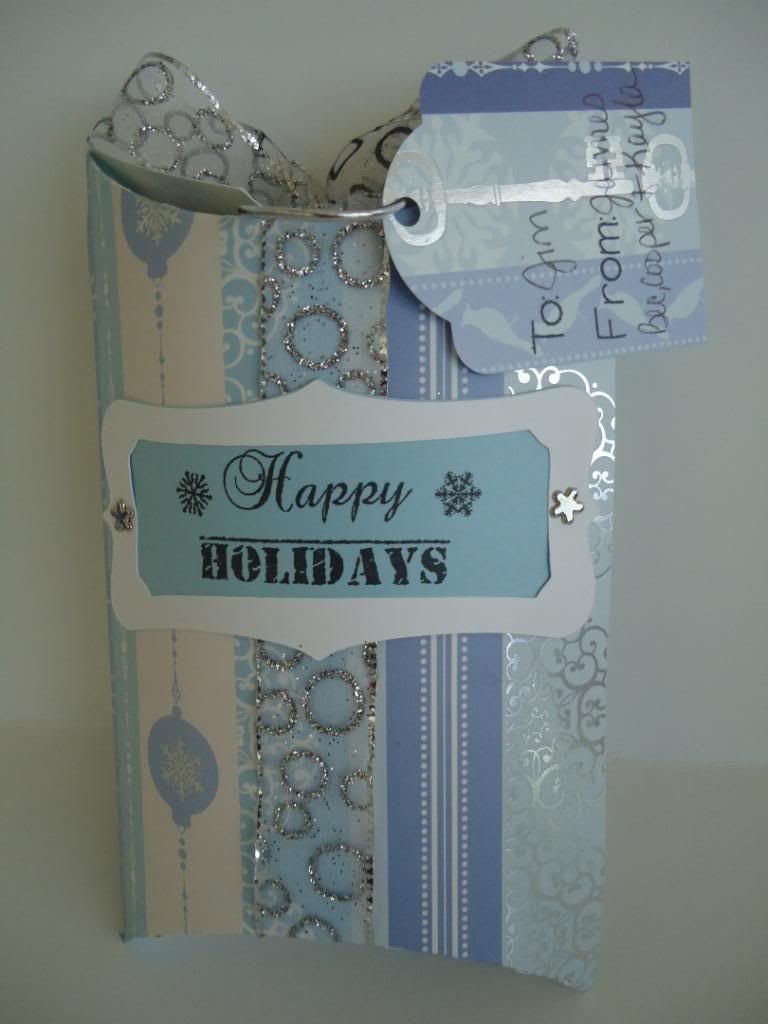
Here is a Gift card holder I cut out with Wildcard, page 46 called All in One, it is cut at 4.25"
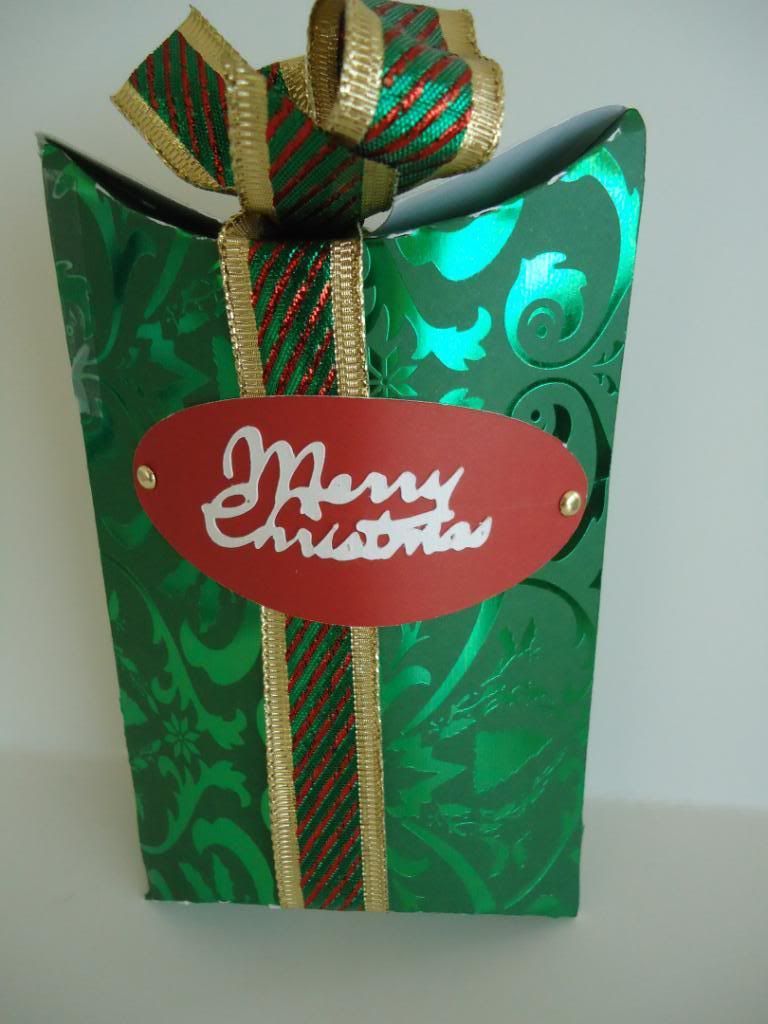
Then I made these boxes to put the gift card holder in so they also have a present to open on Christmas too.

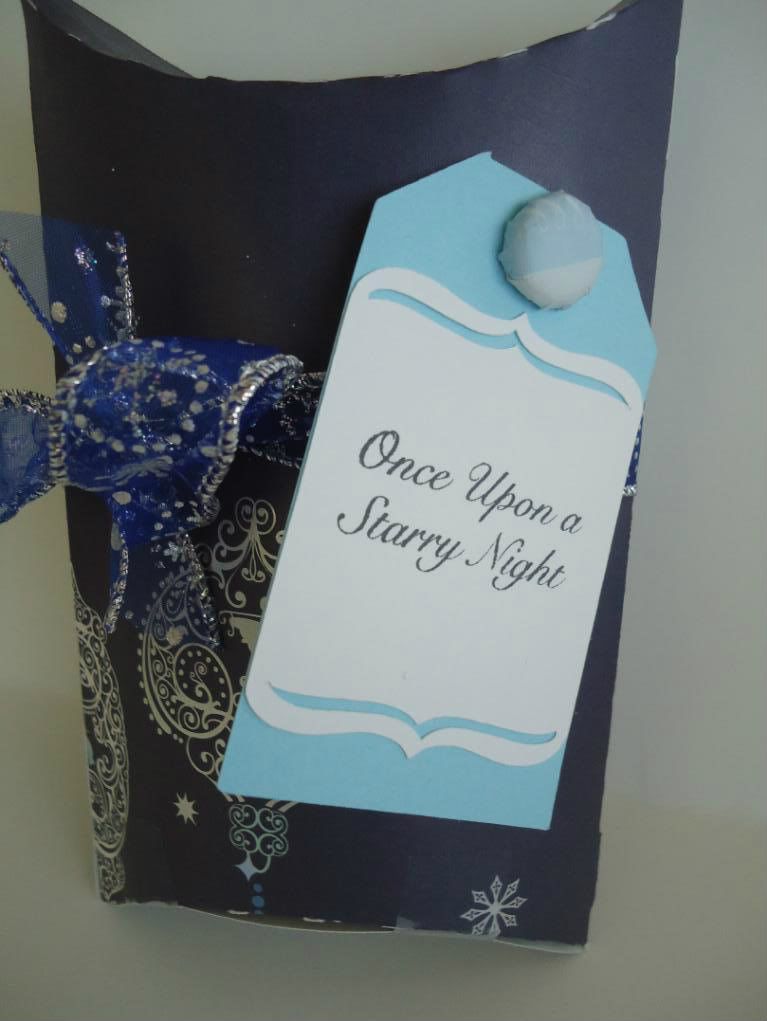
I got this box idea from the Cricut message boards and I just loved it so much, I used Art Philosophy for the box cut and all the tags and labels on the boxes, then added name tags and ribbon. I think is is great because then the people who get gift cards feel like they have something to open too.

Make sure you check back tomorrow, I made some glazed candle holder (my first time) and I can't wait to share those presents with you.

Friday, December 16, 2011

My Project Book and I'm a Guest Designer Today!

Hi all my crafty friends,

YAY! It is finally Friday! I am so excited today because I am a guest designer over at my good friends 3 Girl Jam.  And they have a great line-up of some of my other crafty friends for their guest designer day. We all are showcasing their new crinkle ribbon bundles they came out with. You are going to love these new bundles! Awesome colors! If you have never tried this ribbon you have got to try it. I love it!

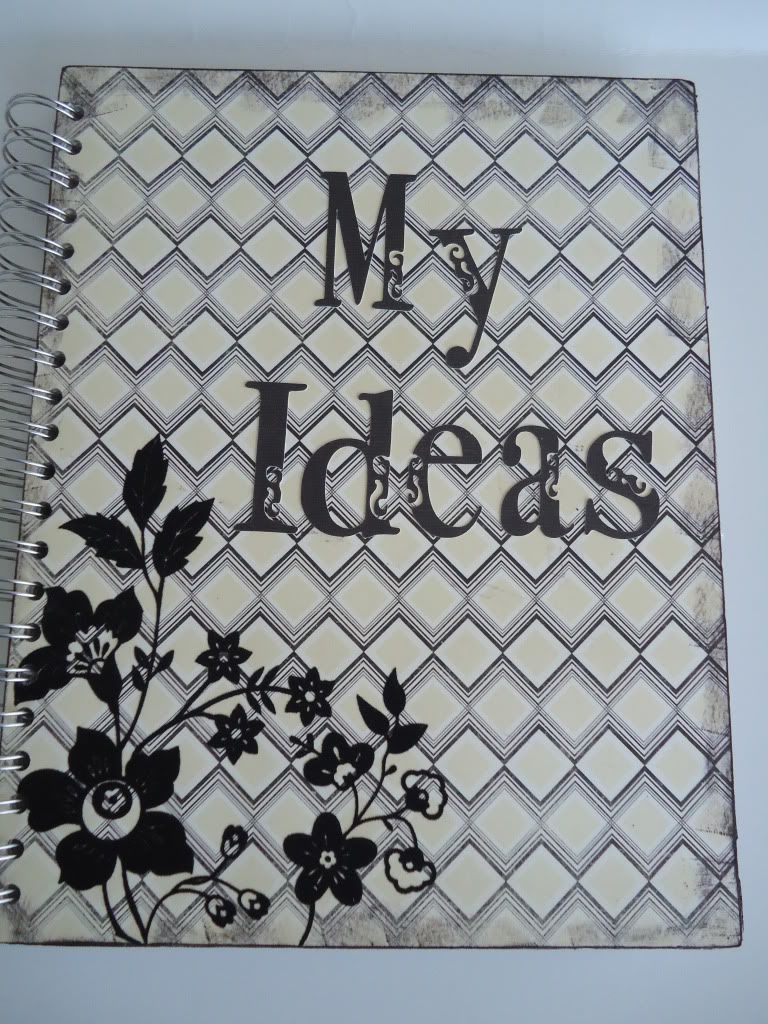
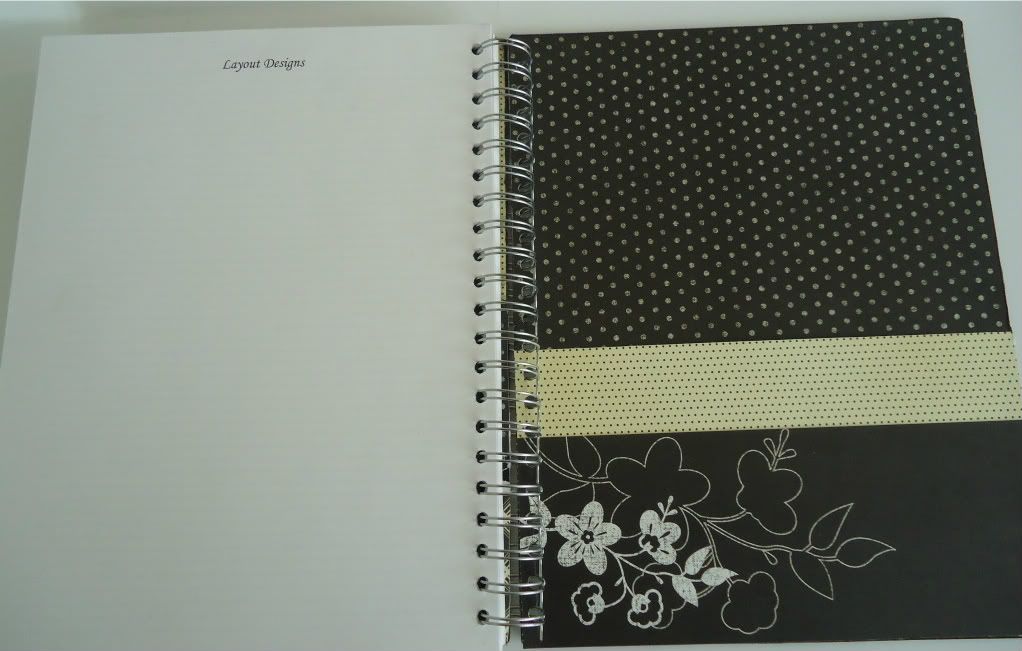
For my project I made this wonderful project journal, where I can record all of my project ideas, supplies, sketches and journaling ideas. I was thinking about how I could keep track of the projects that I make and if I have uploaded them to my blog and then the ideas just started flowing from there. So, here is what I came up with. I used the new Celebrations Bundle Crinkle Ribbon- this is a great set it has black and a silver color of ribbon.

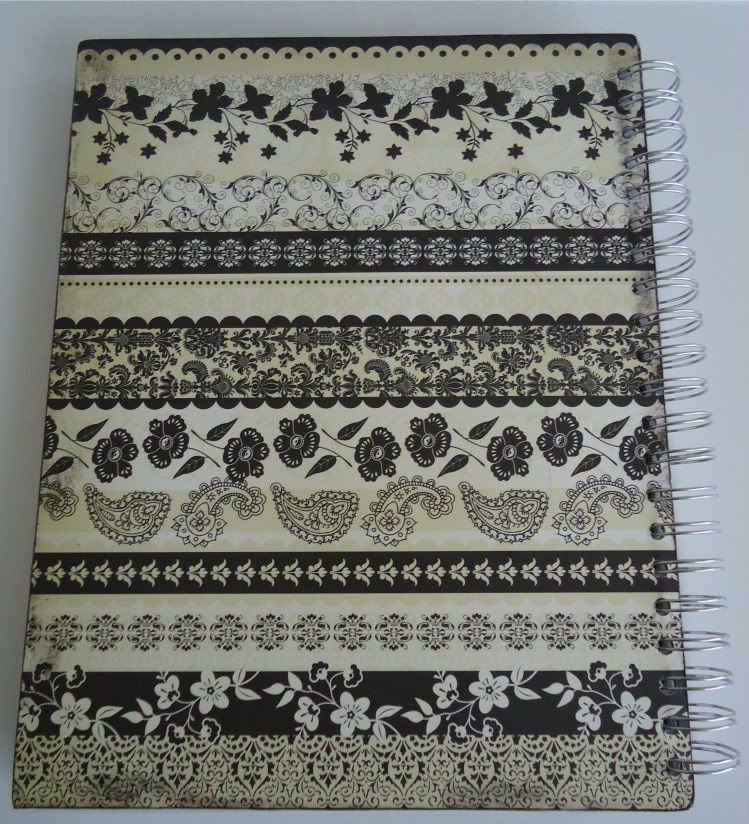
This is the cover of the book. I make it 8 1/2" x 11". I used DCWV paperstack La Creme stack, which I love because the paper has velvety feel to it.

This is the inside cover, and I made a pocket to hold items in and used the Celebration black crinkle ribbon, as memorabilia holder.


The first part of the book is for Project ideas, this area is for project ideas and the supplies needed to make that project.  I used the black crinkle ribbon to make a page spot holder.
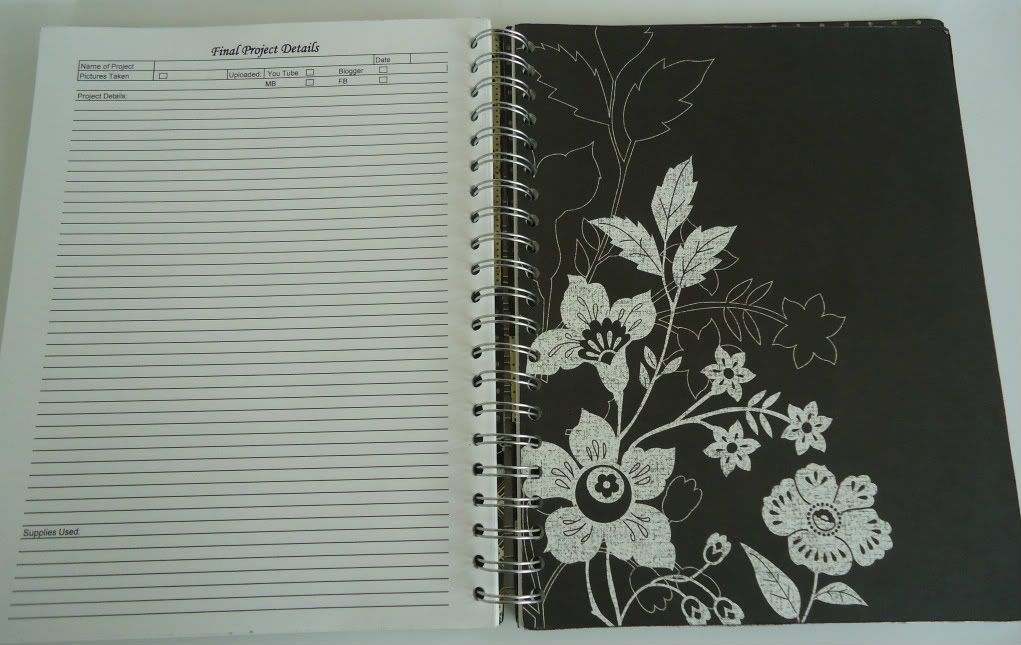
This is what the back part of the Project Idea page looks like, it contains information for the final project, including whether I took pictures, video, uploaded and blogged about the project and the final supplies, cuts, and measurements of the project. Then on the right side is a section divider.
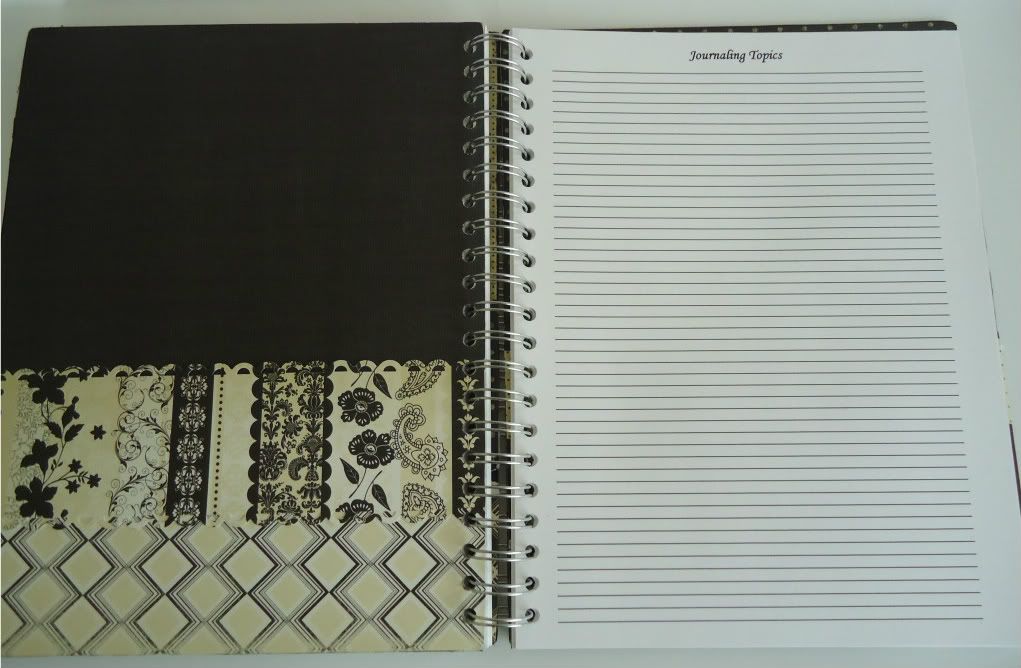
This is the next section in the book. The left side is a divider section with pockets to put things in. The right side is for Journaling ideas on scrapbook pages.

This is the backside of the Journaling Ideas and the back cover of the book.

This is the back cover of the book. I used my cinch to bind the whole book together and I had to use 1 1/2" spine because it is a pretty thick book. I also used chipboard for the covers and inside divider.
If anyone is interested in the page files I made for the pages, let me know and I will add them to this post. I also made a video on how to use your Cinch so if you would like to see that let me know, and I will edit it and post it also.

Now, that I have had a chance to show all of you how I used 3 Girl Jam Crinkle Ribbon, I hope you will go and check out their site. And to give you a little more incentive, they are giving away  a TOTAL PACKAGE BUNDLE and the new Celebrations Bundle and a Wine & Jewels Bundle (that's 64 yards of awesome ribbon!)  to a lucky winner who commented on every guest designers blog. So go check out their blog HERE   to find out how to enter to win they awesome bundle.
Here is the guest designer line-up:
Carrie
Jessica
Sherrie
Becka  Thats me!
3 Girl Jam
Also they are running an awesome special through the month of December, Buy 2 Bundles of Crinkle Ribbon, Get 1 Free-- so if you haven't tried this ribbon out yet, this is a great way to get some

I am also entering this in the following challenges:
The Paper Variety- Anything Goes
Really Reasonable Ribbon~ Anything Goes + Ribbon
Fantabulous Cricut~Challenge Me Monday..Ribbon
City Crafter Challenge Blog- Get Booked
You Had Me at Craft- Made It Myself Monday

.
Thank you so much for stopping by today, I have enjoyed sharing my project with you and would love to hear from you. Also don't forget to check out my 850 Follower giveaway at the top of my blog, I am only 6 away from drawing a winner.